• Home
    • About
      • Contact
  • Shop
    • Home Decorating Accessories
    • Tiered Tray Kits
    • Holiday Home Decor
    • Holiday Ornaments
  • DIY Shop
    • Unfinished Tiered Tray Kits
    • Unfinished Holiday DIY Decor
  • DIY | Projects
    • For The Home
    • Organization
    • Gift Ideas
    • Holidays
      • Valentine’s Day
      • Spring
      • 4th of July
      • Halloween
      • Thanksgiving/Fall
      • Christmas
    • Weddings
    • For The Outdoors
    • Repurposed/Upcycled
    • For Kids
    • Crafts
    • Chalk Paint
    • My Favorites
      • Gift Guides
      • Shop
      • My Keto Journey
        • Easy Keto Meal Plans
        • Recipes
  • Home Inspiration
    • Home Renovations
      • Lake House
      • Before & Afters
    • Kitchens
    • Bathrooms
    • Painting
    • Exterior
    • Design & Decor
    • Lighting
    • Accessories
    • Tips & Tutorials
    • Rekindled Spaces
      • Rekindled Spaces | Schedule a Consultation
      • Rekindled Spaces | Cabinet & Furniture Refinishing
      • Rekindled Spaces | Contact Us
      • Rekindled Spaces | Before & After Photos
    • Email
    • Facebook
    • Instagram
    • Pinterest
    • Twitter
    • YouTube

Diva of DIY

The Easiest DIY Picture Framing Hack

Tweet
Share17
Pin453
470 Shares

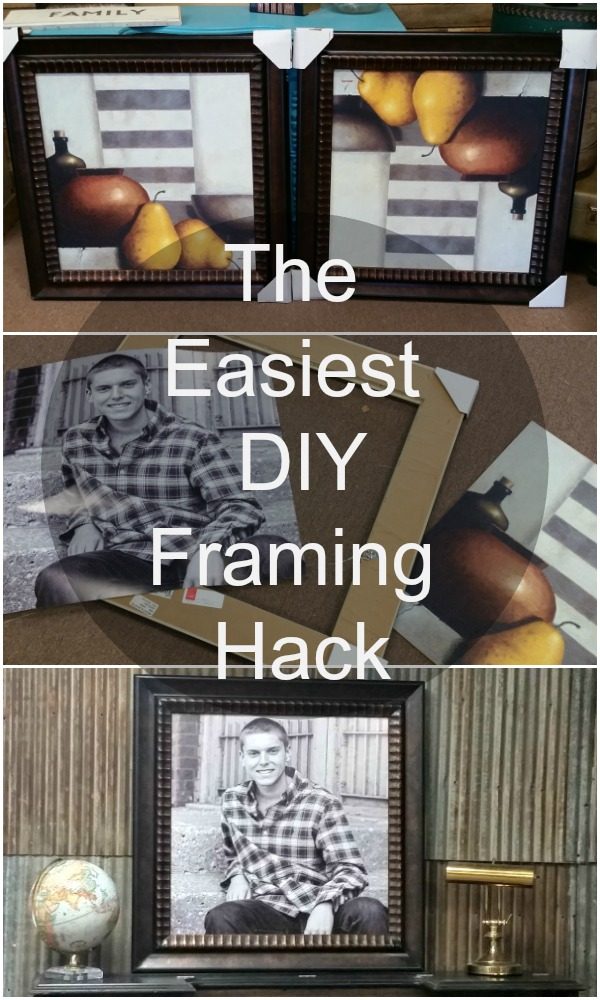
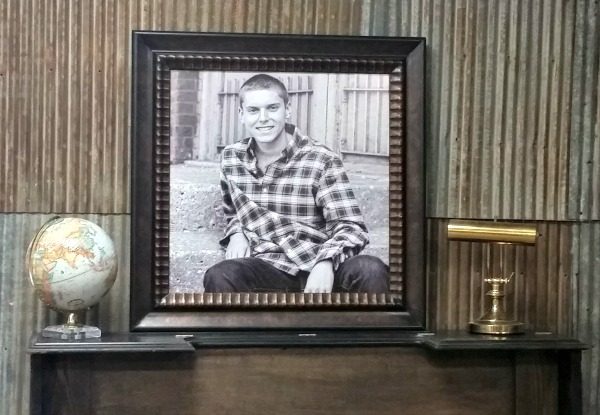
My oldest son just had his senior pictures taken.  I knew I wanted a couple of over-sized portraits to hang in my home to honor this special time in his life.  Have you priced large decorative frames?  Today I am going to show you the easiest DIY picture framing hack to save you some serious bank.

Who doesn't love to see picture frames on the walls of their home of their loved ones? Check out this budget friendly oversized diy picture framing project!

A re-purposed frame and a poster print made this framing hack easy and affordable.

Who doesn't love to see picture frames on the walls of their home of their loved ones? Check out this budget friendly oversized diy picture framing project!

A few weeks ago, I visited our local CORT Clearance Center and found these over-sized framed prints.  I snagged them up for $29.99/pc.  You can see the original post sponsored by CORT here.

This post contains affiliate links. If you buy something from clicking one of my links, I will get a commission from the sale. It will not cost you a penny more and allows me to keep sharing my ideas with you for free. You can see my full disclosure here. Thank you for supporting my blog!

Supplies needed for this framing hack:

  • Poster print ordered to your frame size
  • Permanent Spray Adhesive
  • Break-away knife
  • Flathead Screwdriver
  • Pliers


Who doesn't love to see picture frames on the walls of their home of their loved ones? Check out this budget friendly oversized diy picture framing project!

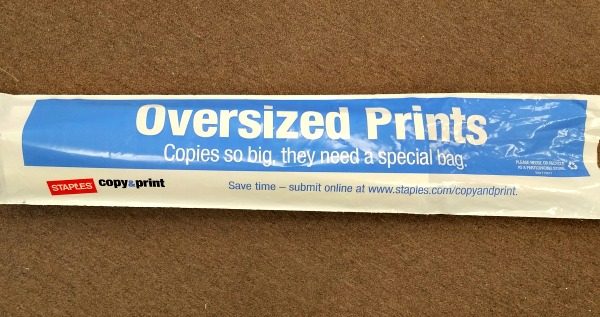
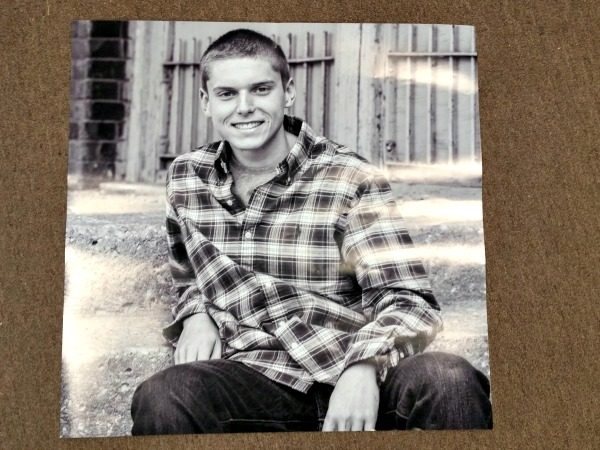
Step 1)  Measure the frame opening and order the size print you need.  I ordered mine from Staples.

For example:  My frame opening is 24″ x 24″.  I cropped my photo to 24″ x 24″ and then uploaded it to the staples website on the 24″ x 36″ poster print template.  Cut off the excess paper.

Tip:  The advantage to ordering your prints this way is they don’t have to be a standard size.  Simply crop your picture to the size you need and upload it on a standard size template.

Who doesn't love to see picture frames on the walls of their home of their loved ones? Check out this budget friendly oversized diy picture framing project!

My poster print was $30.  This is printed on photo paper.  This is not an engineering print which is printed on more of a paper.

Who doesn't love to see picture frames on the walls of their home of their loved ones? Check out this budget friendly oversized diy picture framing project!

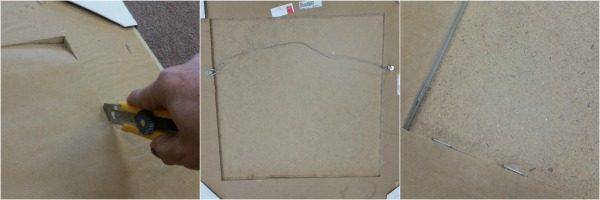
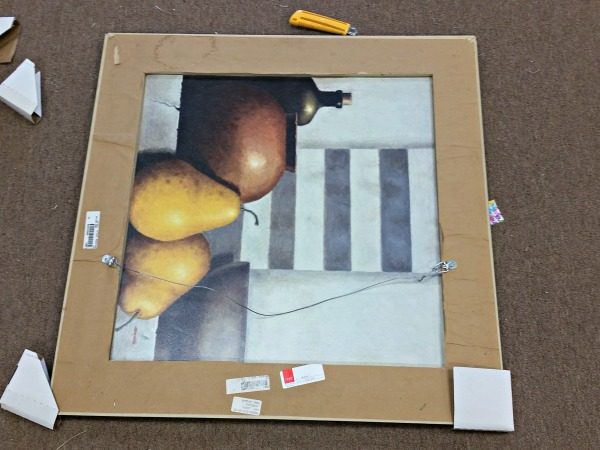
Turn frame face down.

Step 2)  Using the break-away knife, remove paper backing from back of frame.

Step 3)  Using a flat head screwdriver, lift all of the staples that are securing the print in place.  Pull staples with pliers.

Who doesn't love to see picture frames on the walls of their home of their loved ones? Check out this budget friendly oversized diy picture framing project!

Remove original art print from frame.  This particular print has a texture on the front which could interfere with the adhesion of my poster print.  My solution was to turn the print upside.

Who doesn't love to see picture frames on the walls of their home of their loved ones? Check out this budget friendly oversized diy picture framing project!

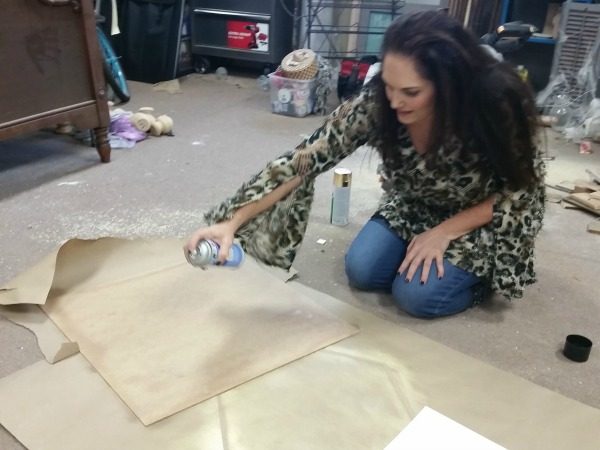
Step 4)  Spray adhesive to the back side of art print.  Let adhesive tack per instructions on can.

Who doesn't love to see picture frames on the walls of their home of their loved ones? Check out this budget friendly oversized diy picture framing project!

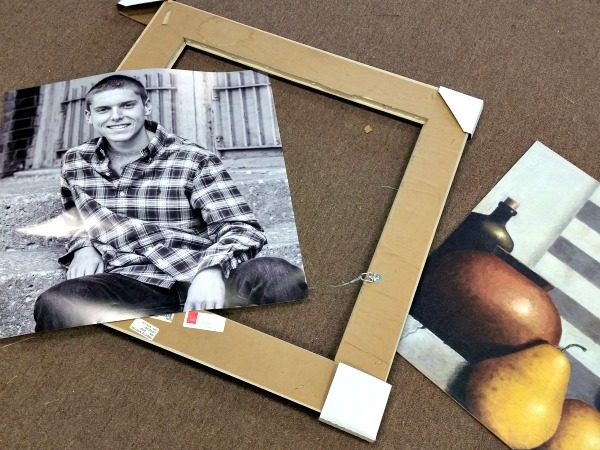
step 5)  Lay new print face down and place the adhesive side of the old print onto the back side of the new print.

Who doesn't love to see picture frames on the walls of their home of their loved ones? Check out this budget friendly oversized diy picture framing project!

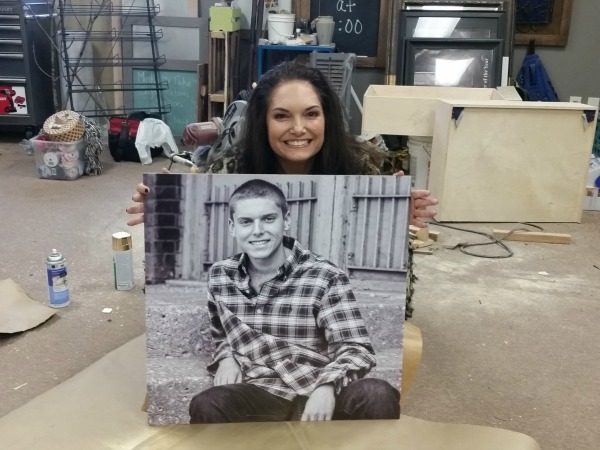
Voila!  This is my happy face because it was so easy.

Who doesn't love to see picture frames on the walls of their home of their loved ones? Check out this budget friendly oversized diy picture framing project!

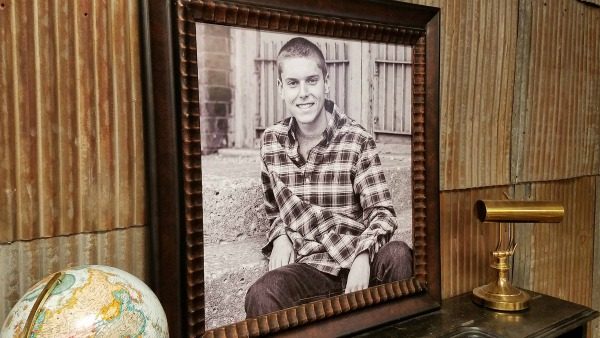
Step 6)  Place picture back into the original frame.   Re-staple or glue print to hold in place.

Who doesn't love to see picture frames on the walls of their home of their loved ones? Check out this budget friendly oversized diy picture framing project!

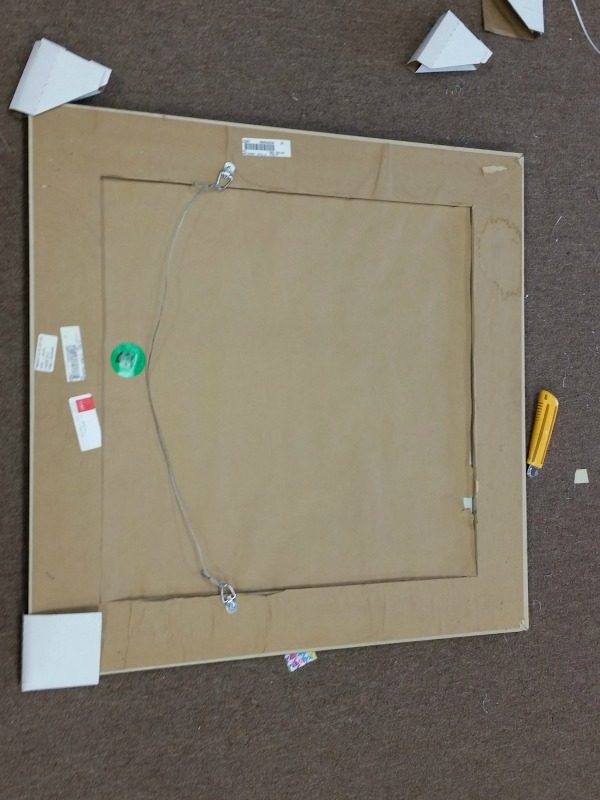
Step 7)  Spray back of frame with adhesive and replace paper backing for a finished look.

Who doesn't love to see picture frames on the walls of their home of their loved ones? Check out this budget friendly oversized diy picture framing project!

I am so happy with my framing hack.  Any time I can make something beautiful at a fraction of the cost, its a win win.  I hope this inspires you to think outside the box when you are framing pictures for your home or as gifts for those special people on your list.

Each and every one of you inspire me and I LOVE to see the work that you’ve created. Feel free to share with me on Instagram, Twitter or Facebook. And as always, be sure to follow Diva Of DIY on Pinterest and sign up for our FREE Newsletter to receive the latest projects delivered straight to your inbox!

Who doesn't love to see picture frames on the walls of their home of their loved ones? Check out this budget friendly oversized diy picture framing project!


Tweet
Share17
Pin453
470 Shares

Accessories// Blog// DIY | Projects// For The Home// New on the blog// Repurposed/Upcycled4 Comments

Become an insider and never miss a post!

« Easy Handmade Soap for the Perfect Gift
Handmade Wooden Ornaments with Photos »

Comments

  1. Liz Miller says

    12/06/2016 at 11:02 am

    I always buy frames at Savers or Salvation Army to fit the prints/posters I've bought on a whim. As you know, they often include a Matt, already cut. Nowadays I take my tape measure and print w/ me to match the Matt once I zero in on a frame! I know you know all these things... only problem I've begun running into lately is frames not made of wood but some for of plaster of Paris. Can't figure out how to hang since they're so much heavier...EEKKKKK
    Reply
    • divaofdiy says

      12/12/2016 at 11:58 am

      Taking a tape measure is a must! lol
      Reply
  2. Lane Stumme says

    12/17/2016 at 6:05 pm

    Did you know that if you back the frame with brown craft paper after you glue it down and it dries spritz the brown paper with some water in a spray bottle and when it dries it will make the brown paper tight and look very professional.
    Reply
    • divaofdiy says

      12/18/2016 at 2:19 am

      Great tip! Thanks!
      Reply

Leave a Reply Cancel reply

Your email address will not be published. Required fields are marked *

Looking For Something?

Shop Amazon!

Do you struggle with choosing paint colors for your home?

Trying to select them off of small paint strip can be a daunting task.  DOWNLOAD THIS FREE E-BOOK full of professional tips for choosing the perfect paint colors…
THE FIRST TIME!

You have Successfully Subscribed!

Subscribe

Please don't make the same mistakes most DIYer's make

Are you considering painting your cabinets?  Download our free cabinet painting checklist to make sure you are painting your cabinets the right way!

You have Successfully Subscribed!

  • Email
  • Facebook
  • Instagram
  • Pinterest
  • Twitter
  • YouTube
Privacy

Tags

bathroom makeover ideas Chalk Paint Christmas christmas decor christmas ornament Craft Projects design tips easy keto recipes Fall decorating fixer upper furniture Furniture Rehabs Gift Ideas Halloween handmade holiday holiday decor Home Decor home renovations keto keto diet kids crafts kitchen makeovers lake house fixer upper Mother's Day Organization Outdoor painting paint party Pallet Projects pallet projects Pumpkins repurposed Repurposed & Upcycled Repurposed Projects Restaurant: Impossible Shopping Guides Thanksgiving upcycled Upcycled Projects Valentine's Day wood decor wood projects wood signs wreaths

Copyright © 2021 · Savory theme by Restored 316

Copyright © 2021 · Savory Theme on Genesis Framework · WordPress · Log in