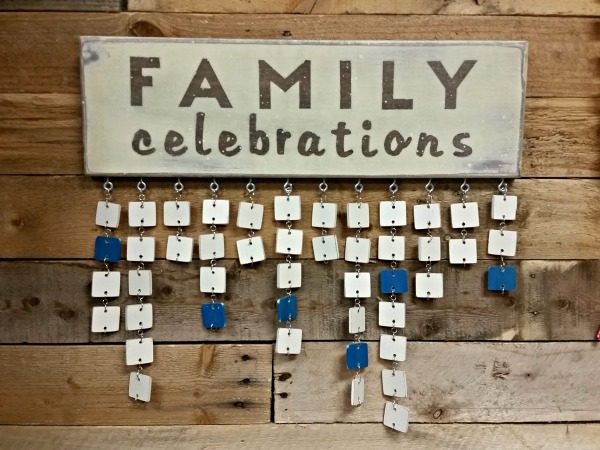
Are you looking for the perfect gift? This DIY calendar is a super cute way to remember the special occasions of your favorite people.
This post contains affiliate links. If you buy something from clicking one of my links, I will get a commission from the sale. It will not cost you a penny more and allows me to keep sharing my ideas with you for free. You can see my full disclosure here. Thank you for supporting my blog!
Supplies needed for DIY Calendar:
- 10-12 paint sticks*
- Rustoleum Espresso Spray Paint
- Rustoleum Heirloom White Spray Paint
- 1′ x 6″ board cut to 18″
- Eye Hooks
(These are the ones I used)
- Jump Rings
(These are the ones I used)
- Jewelry Pliers
- Router
(optional)
- Drill
- 1/8″ Drill Bit
- 1/16″ Drill Bit
- Sanding Block
- Removable Stencils
- Minwax Stain
(This is my favorite)
- Staining Pad
- Painter Pyramids
(Everyone needs a set of these)
*you can use wooden circles, stars
and/or hearts
instead of cutting paint sticks

DIY Calendar Instructions:
Step 1) Spray all of the paint sticks with brown spray paint. Let dry.
Step 2) Spray all but 3 of the brown paint sticks in white spray paint. Let dry.
Step 3) Spray the other 3 paint sticks in an alternate color. These will be used for anniversaries.
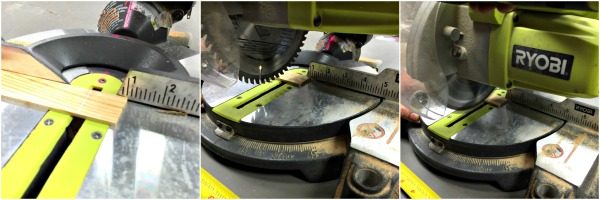
Step 4) Cut all of the painted sticks into 1″ lengths. Note: Paint all of the sticks prior to cutting. I cut this unpainted stick purely for demonstration while I was impatiently waiting for my painted ones to dry. LOL
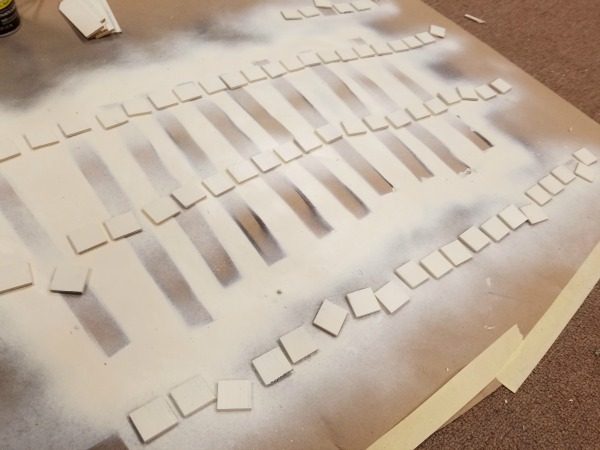
Step 5) Touch up the cut edges with the white spray paint. Let dry.
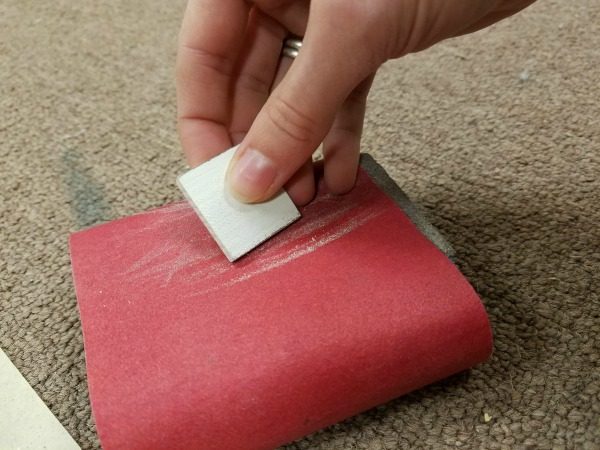
Step 6) Using a sanding block or 220-grit sandpaper, sand the edges of the paint stick squares. This will soften the corners and expose some of the brown paint from underneath.
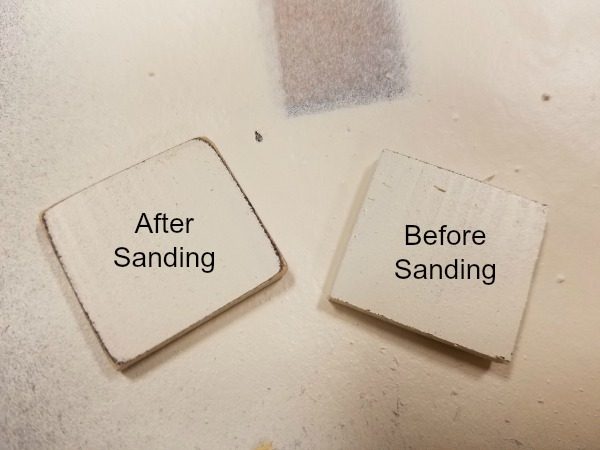
This is what they will look like when finished.
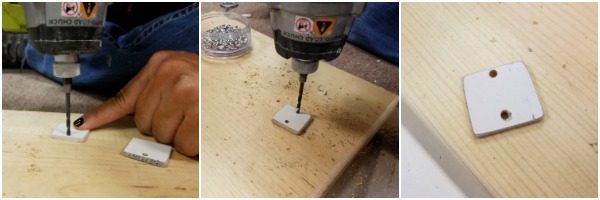
Step 7) Drill a hole in the top and bottom of each square using a 1/8″ drill bit.
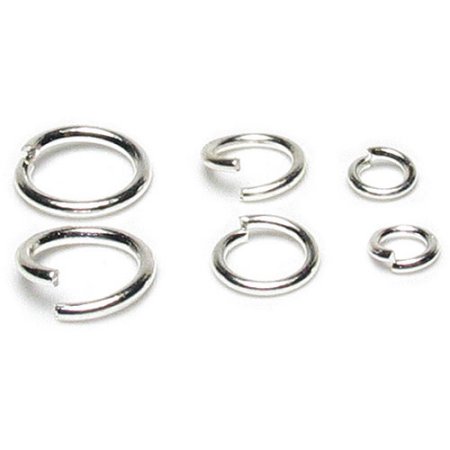
Separate your jump rings. You will need these for the next step.
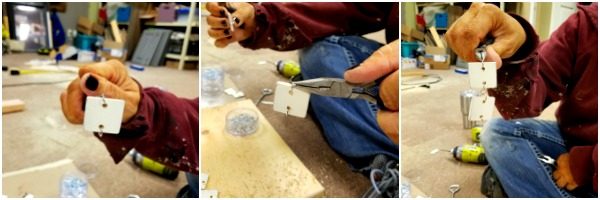
Step 8) Attach an 8mm jump ring to the top and bottom hole on each paint stick square.
Step 9) Connect each square by attaching a 6mm jump ring to the 8mm jump rings.
Sit the completed squares off to the side while you make the calendar plaque.

Step 10) Soften the edge of your 1″ x 6″ x 18″ board with a sanding block or, for a more finished look, use a router
.

Step 11) Dip a staining pad or cheesecloth into your stain and wipe on your 1″ x 6″ board. Wipe off excess stain.
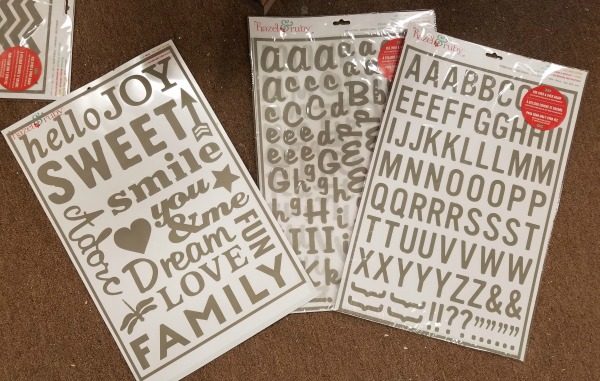
Have you ever seen these? They are reusable, peel-n-stick stencils and they are perfect for this type of project.
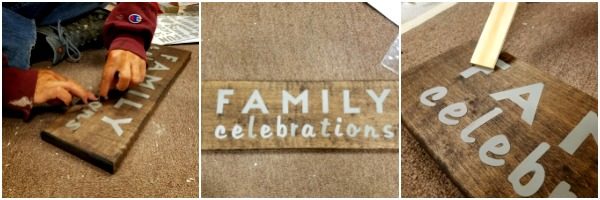
Step 12) Place stencils on the front of your plaque. Burnish them to avoid bleed through.

Step 13) Spray your board with the white spray paint. Let dry
Step 14) Remove peel-n-stick stencils.
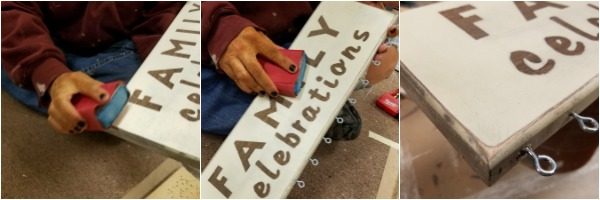
Step 15) Lightly distress with a sanding block (optional).

Step 16) Measure the center of your board in both directions. My center was 3/8″ wide and 9″ lengthwise. Since my board is 18″ and I have 12 months, each month will be 1.5″ apart.
Starting at 9″, measure 3/4″ on either side. Next, measure 1.5″ out both directions until you reach the end.

Step 17) Create a pilot hole and each of your marks using a 1/16″ drill bit.
Step 18) Screw in the eye hooks at each mark.
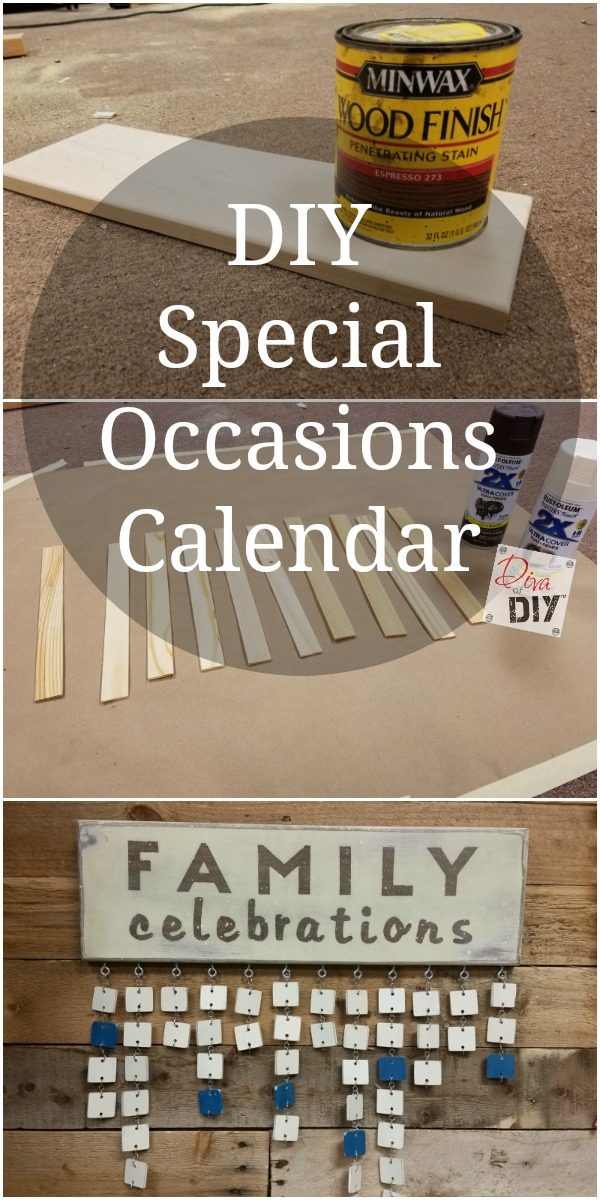
Check out these variations:
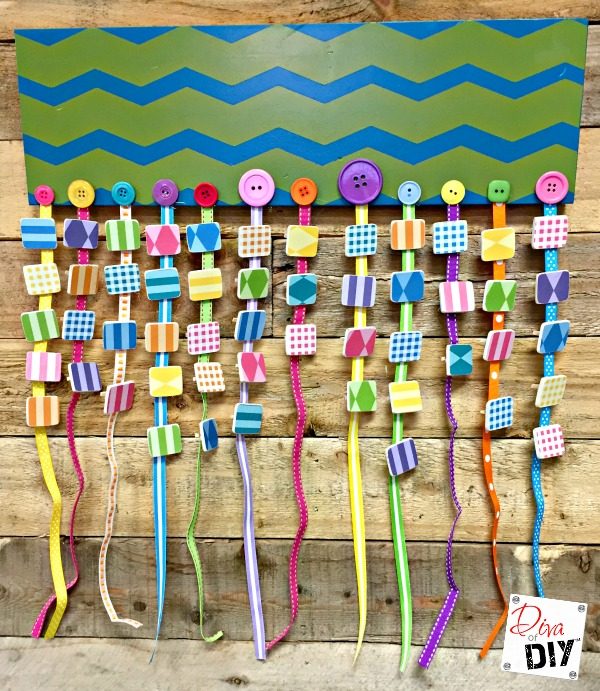
Full tutorial for these boards coming soon!
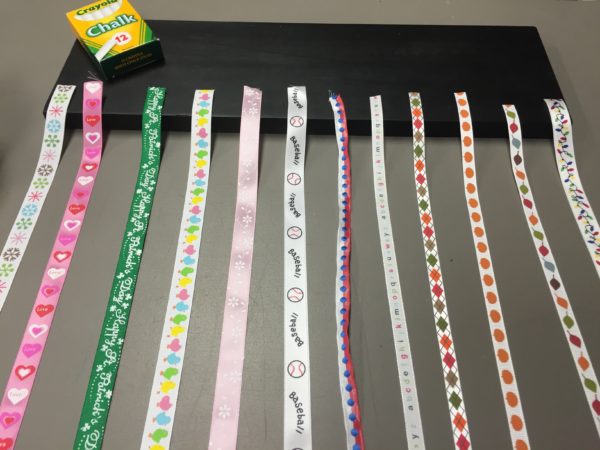
Each and every one of you inspire me and I LOVE to see the work that you’ve created. Feel free to share with me on Instagram, Twitter or Facebook. And as always, be sure to follow Diva Of DIY on Pinterest and sign up for our FREE Newsletter to receive the latest projects delivered straight to your inbox!
