This is one of my favorite DIY gifts to give to my friends and family! This projects matches together 2 elements of my gift giving philosophy: personal (photos) and repurposing (photo box container). Whenever I go on my thrift store/garage sale/ flea market shopping expeditions I always pick up trinket boxes that speak to my soul. Then I keep them in my collection of future supplies until they I find the perfect person to give them to. I think you will enjoy what these little trinkets said to me… “Make me into a photo box for a unique little accordion photo album”!
This post contains affiliate links. If you buy something from clicking one of my links, I will get a commission from the sale. It will not cost you a penny more and allows me to keep sharing my ideas with you for free. You can see my full disclosure here. Thank you for supporting my blog!
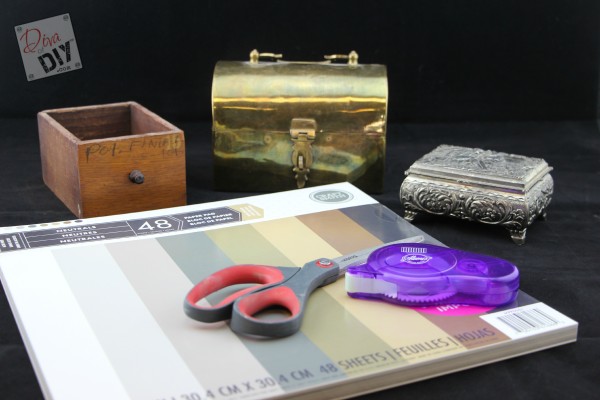
Photo Box Supplies:
- A small box
(These are perfect if you choose to buy new ones)
- Paper cutter
- Double-stick tape
, glue dots
or my favorite…Aleene’s Tape Gun
- Decorative Scissors
- Assorted Card stock
- Assorted embellishments such as: stickers, buttons, felt, etc…
- Family photos
- Glue gun (optional)


Photo Box Instructions:
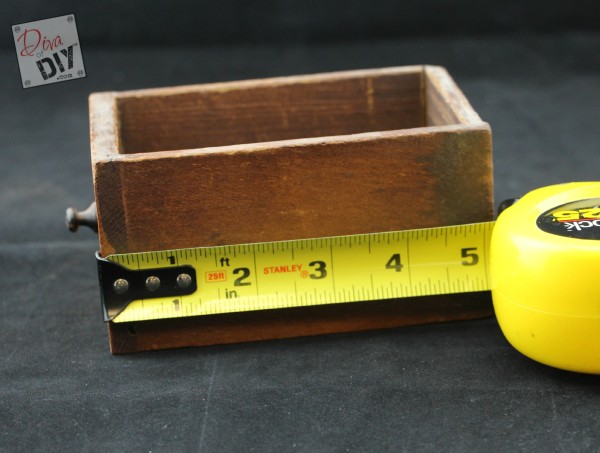
Step 1) Measure the opening of the box you are using. You will want to take a measurement of the height and the width.
Step 2) Once you have the measurements, subtract 1/4″ from each direction. This is so the paper will be slightly smaller then the box.
For example: If the box opening is 5″ wide x 3″ deep, you would subtract 1/4″ from each direction so your new measurement will be 4 3/4″ wide x 2 3/4″ deep. I will use this measurement for the rest of this tutorial. This will be the size you cut your paper.

Step 3) Take a full sheet of card stock and using your scissors or paper cutter
Step 4) You will want to cut at least 2 strips.
Step 5) Using your double stick tape

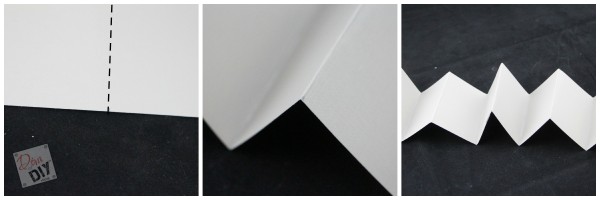
Step 6) Take your other measurement, in this case, it’s 2 3/4″ and mark your paper strip every 2 3/4 inches.
Step 7) Starting at one end, start folding at each tack mark, alternating the direction of the fold to create an accordion-fold.
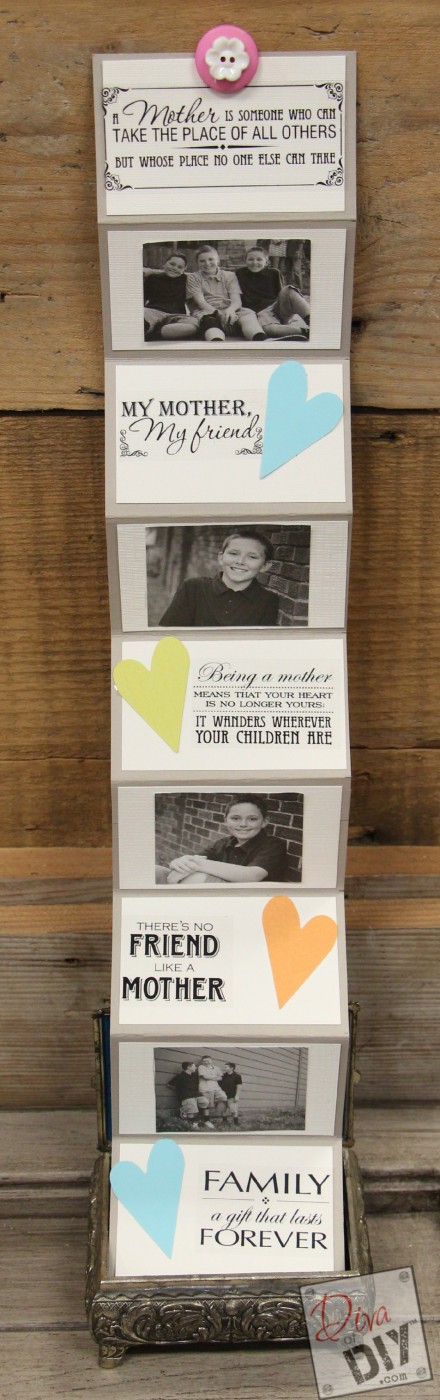
Now it’s time to add your own personality to your photo box. For the first one, I cut a smaller piece of card stock in a contrasting color to create a photo mat. I chose to include photos on every other fold. On the other sections, I added “family” stickers and colorful hearts (that I cut from extra card-stock). To attach, I used a glue gun to secure the bottom fold to the base of the box. I also glued a couple buttons to the top fold to have a place to lift the album up out of the box.
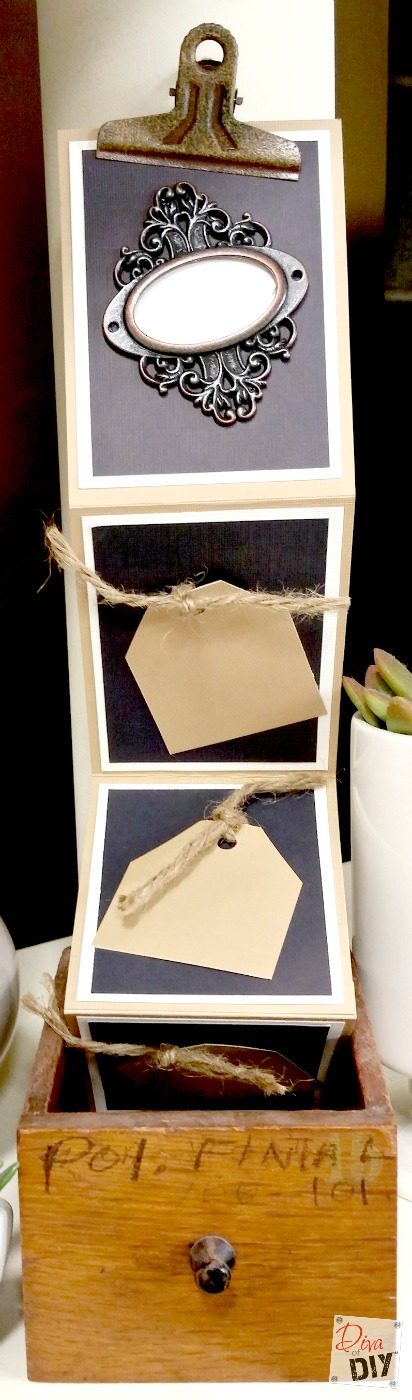
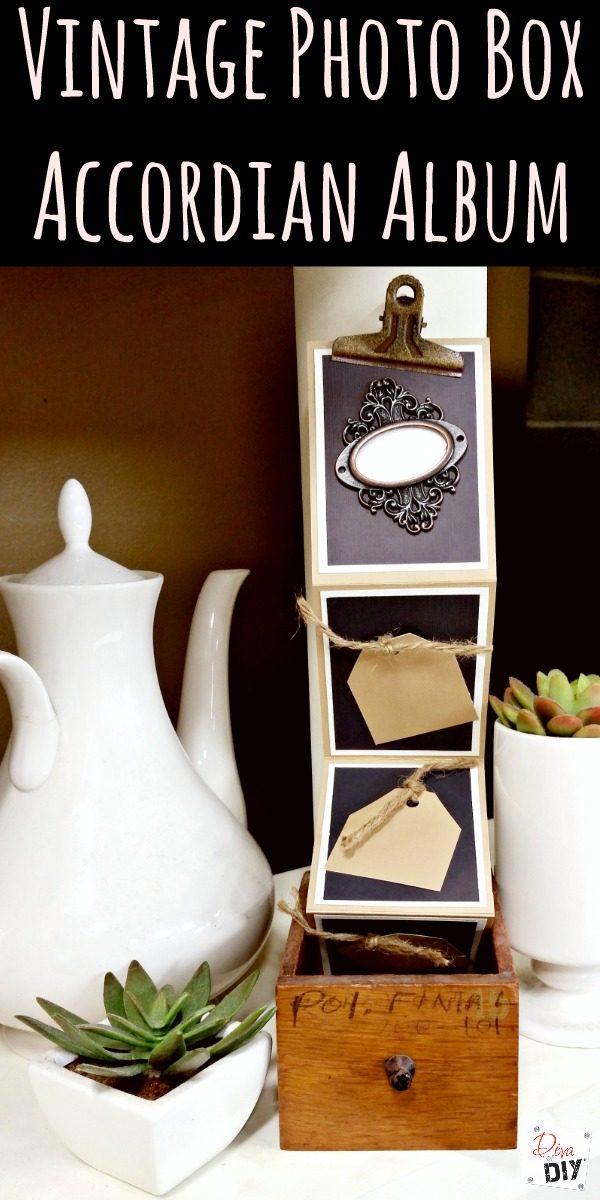
For the second box, I kept the vintage feel with the embellishments and used a tag look. You can decide on pictures and stickers that fit your style. I opted to not attach this album but left it so it could be completely pulled out by the clip at the top.
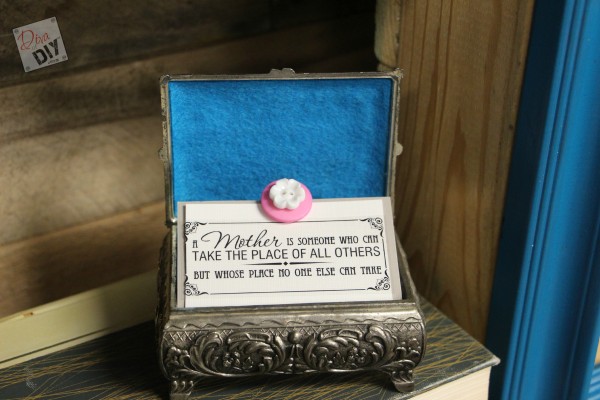
For the silver box I glued turquoise felt to the top of my box to finish it off. The wooden box does not have a top so the album just lays inside.
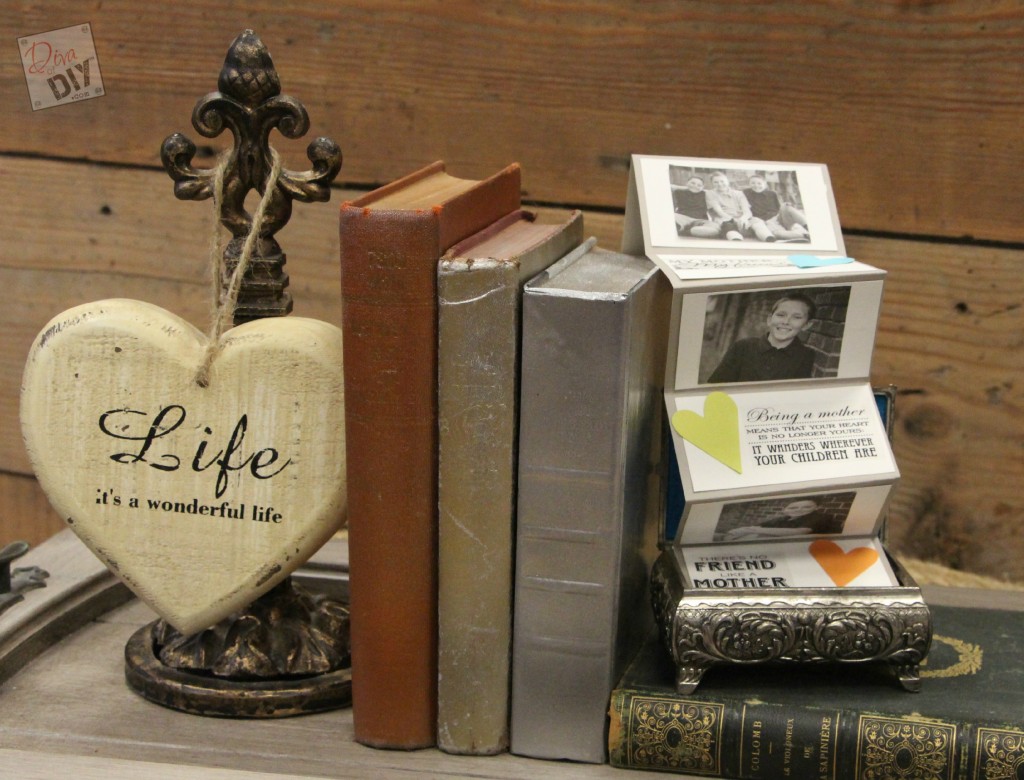
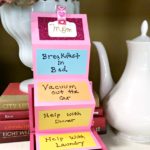
This would make an amazing Mother’s Day gift! I also have a tutorial to make this accordion album into a coupon book! See that tutorial here: How to Create a Unique Mother’s Day Coupon Book.
Each and everyone of you inspire me and I LOVE to see the work that you’ve created. Feel free to share with me on Instagram, Twitter or Facebook. And as always, be sure to follow Diva Of DIY on Pinterest and sign up for our FREE Newsletter to receive the latest projects delivered straight to your inbox!
If you like this project, check out these: