
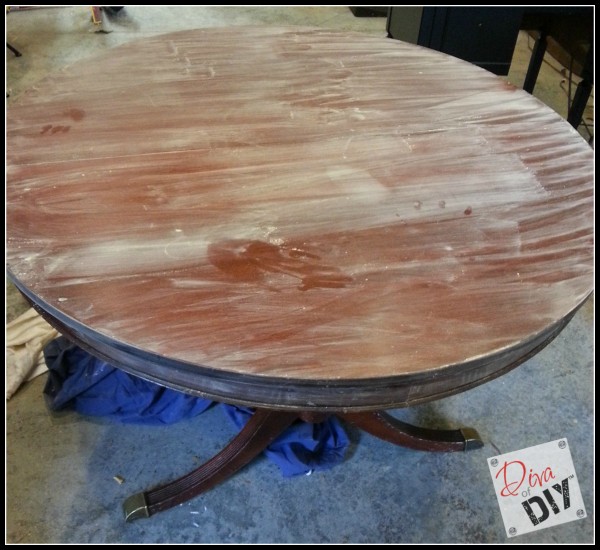
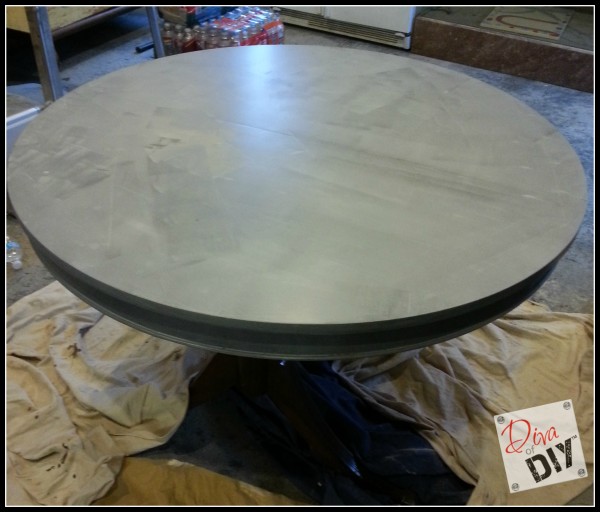
Note: If you are not restaining the table, then you do not need to sand the table all of way to the raw wood.
Clean the entire piece with Krud Kutter to remove dust from sanding, and any leftover grime.
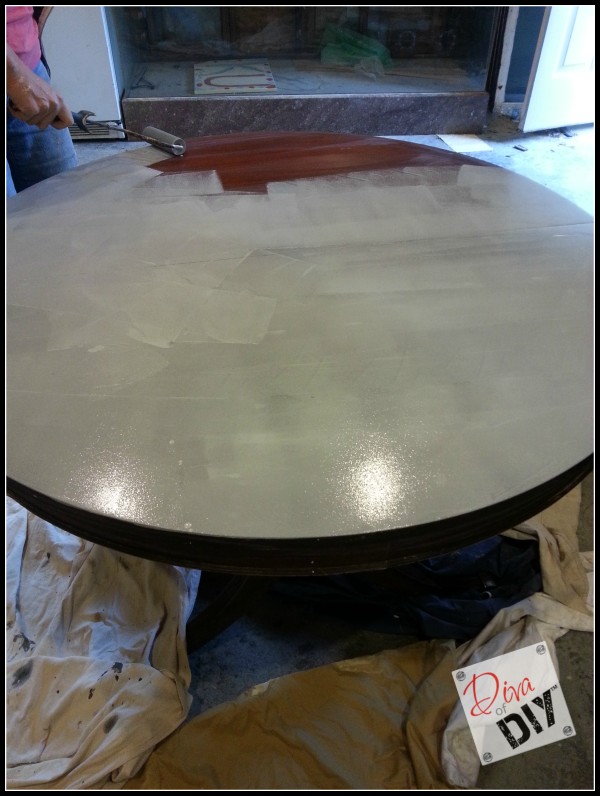
Pro Tip: Tinting your primer close to your paint color can be a time saver
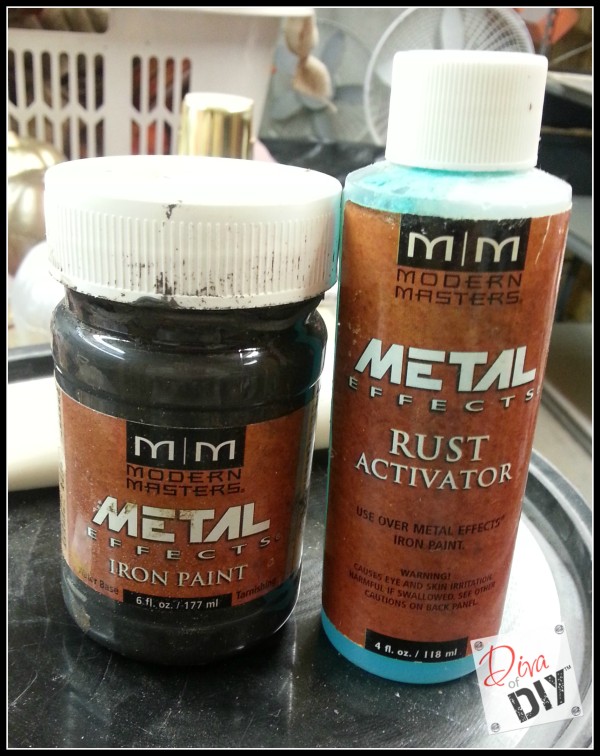
Apply one coat of Iron paint using a low-nap mohair or velour roller or foam roller. Let dry.
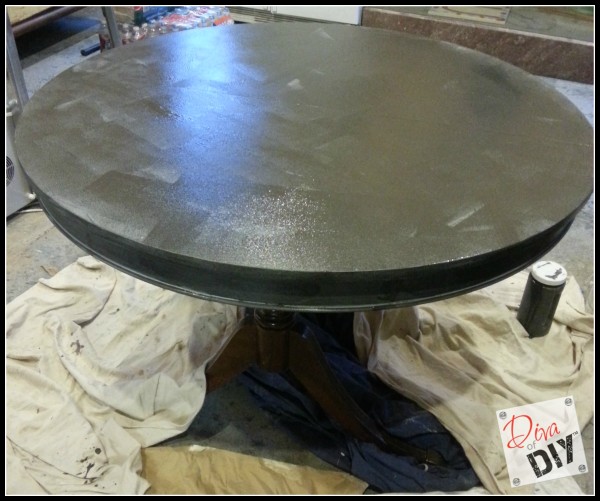
Spray rust activator over dry Iron Paint. Pounce the activator with a chip brush so that it bites into the iron paint. Wait 5 minutes and then spray again. Let fully dry and it’s like magic!!! This finish will need to be sealed with Modern Masters Perma-coat Sealer. This will stop the table from rusting any further and keep the rust from transferring onto your clothes, etc…
I then applied 2 coats of water-based Spar Urethane to make it more durable for dining use. This is an outdoor product but I chose it to help repel sweat from your water glasses.
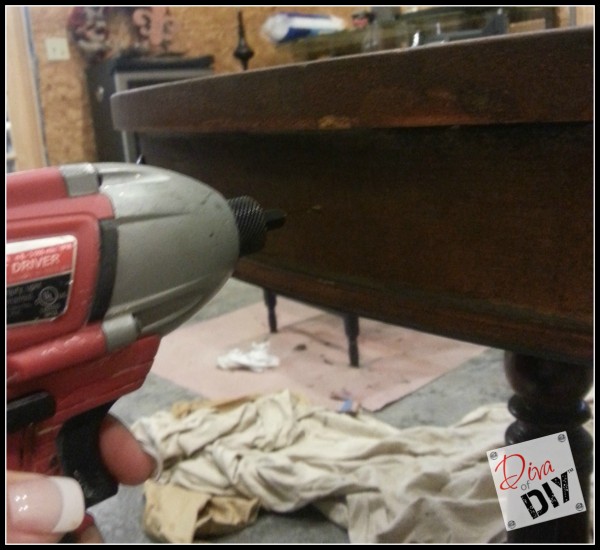
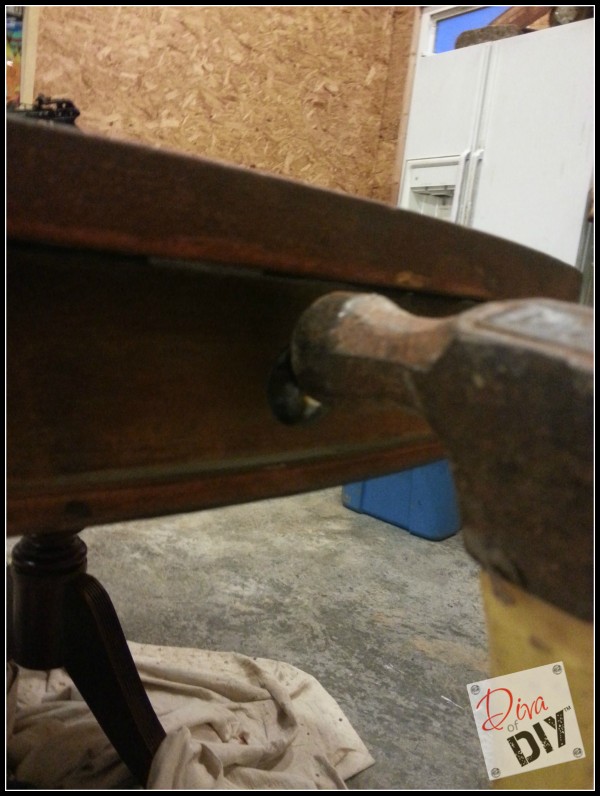
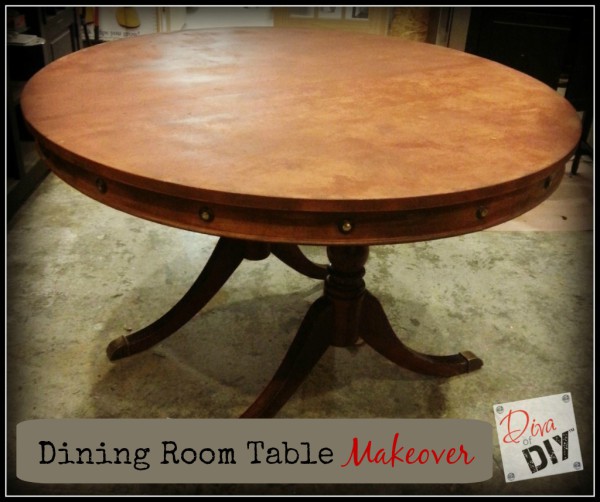
Hammer the upholstery tacks into the sides.
This is the same process you would use to paint your table. You would still prep it and prime it and then apply 2 coats of Sherwin Williams Pro-Classic Satin Latex Enamel in color of choice.
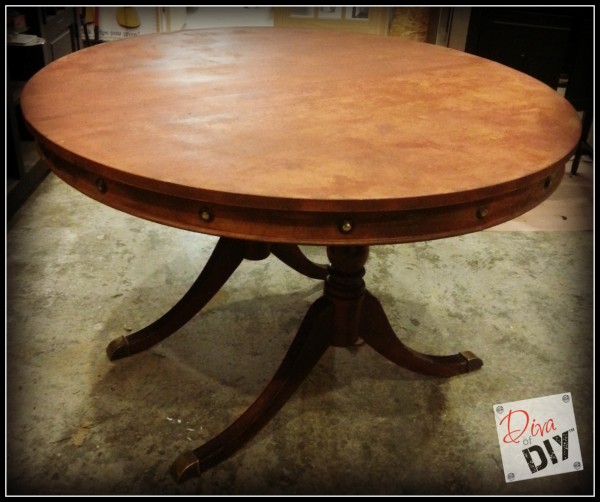
Did this Dining Room Table Makeover help you create a beautiful new table? I’d love to hear how this DIY Project went for you!