

This has been a rough summer for me. Many of you know my dad unexpectedly passed away and I have been really struggling as I try to find a new normal.
When I got back from the funeral, I took some time off work to try and make sense of it all…I was really depressed. The one thing I knew was that he would want me to keep going, but I couldn’t fathom trying to go on with everyday life.
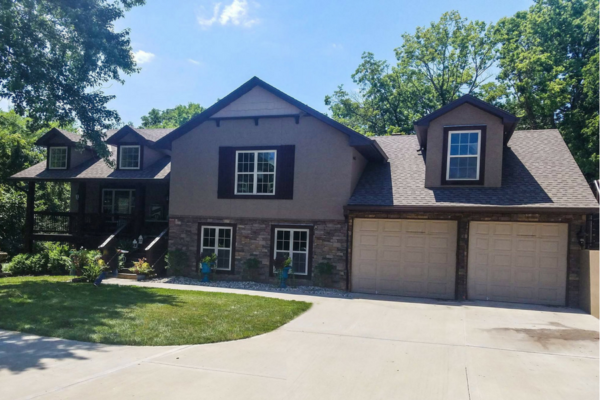
I decided to start working again by upgrading the curb appeal of my own home.
I know I am going to catch some flack about changing my house color. Some of you will like it better the way it was and that is fine.
Painting is what I do, and it is very therapeutic for me. So painting my home was me working towards a new normal.
Bottomline: I WAS TIRED OF BROWN! I had a brown house with brown stone and lighter brown garage doors and dark stained shutters…UGH it was depressing.
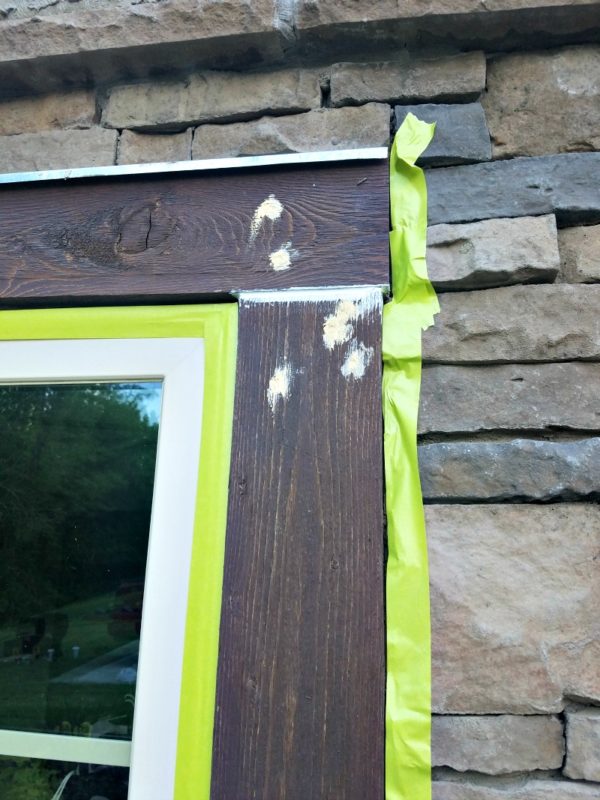
Because i was converting my cedar trim from stain to paint, I did a lot of prep work before the wood could actually be painted.
I started by taping off the surfaces surrounding the trim with lacquer tape
Next, I filled all of the gaps and screw holes with heavy-duty caulk
Once the caulk was dry, I primed all of the stained wood with a slow-dry oil based primer
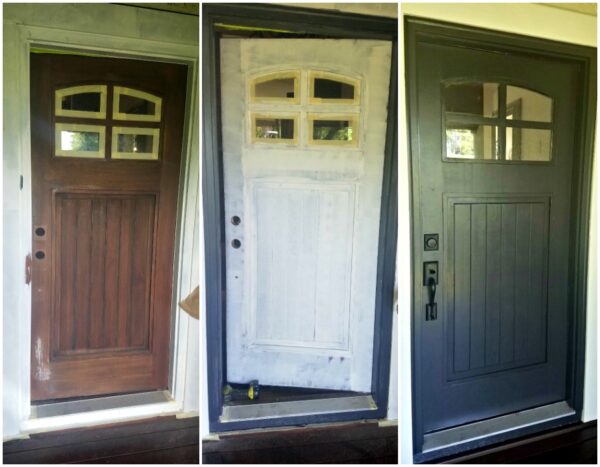
Here is the progression of my front door going from stain to paint.
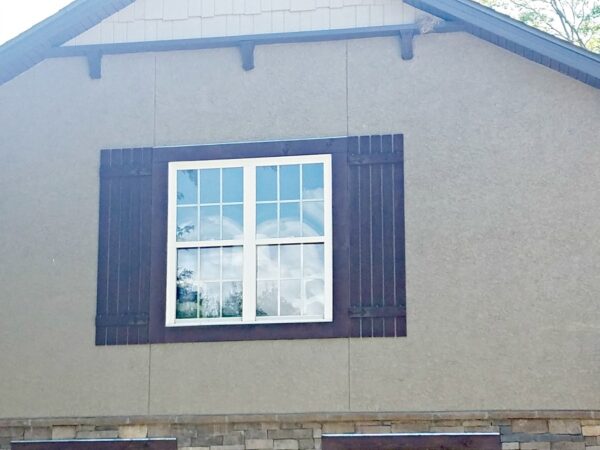
I also switched out these rinky-dink shutters made with 1″x4″ boards…
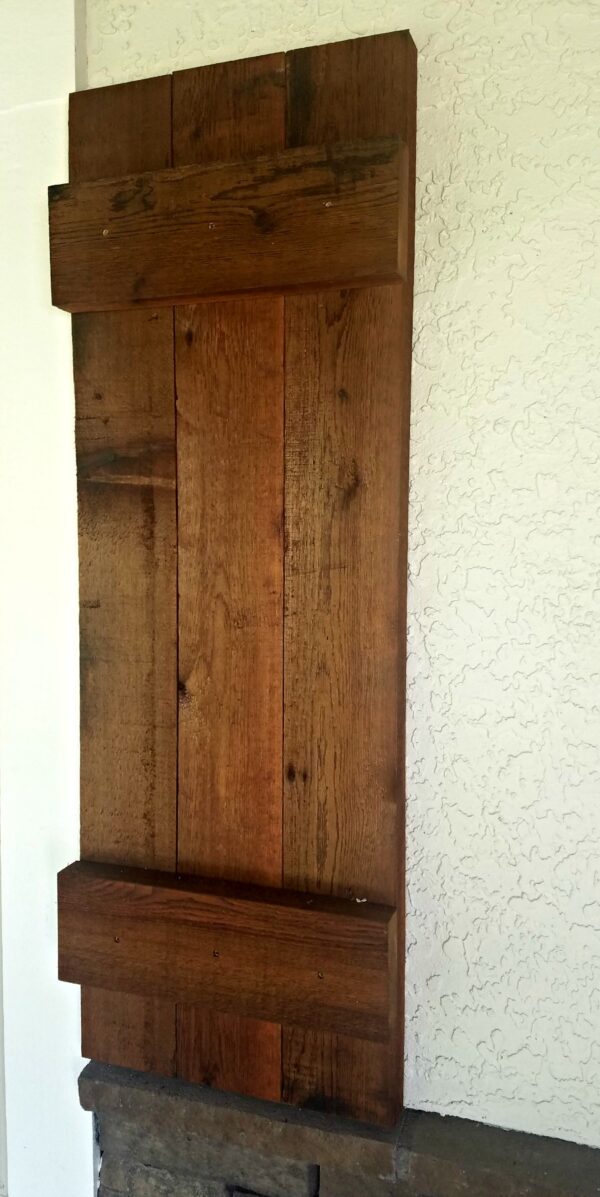
…with beefier rough cedar shutters made from 2″ x 6″ cedar. Now that made a huge difference right? I also contemplated building the z-pattern board & batten shutters like I made for the lake house but ultimately chose this pattern instead.
These shutters definitely increase curb appeal and are super easy to make:
Step 1) Measure your window and divide by 2 to get the width of your shutter. Note: My windows are really wide so I chose my size based on what looked good visually as opposed to this exact formula.
Step 2) Cut your cedar boards to fit the height of your window (less any additional trim). For this example, I used 3 boards and pushed them against each other. Measure the width across the 3 boards to get the length of your horizontal boards.
Step 3) Screw the horizontal boards into the vertical boards using deck screws
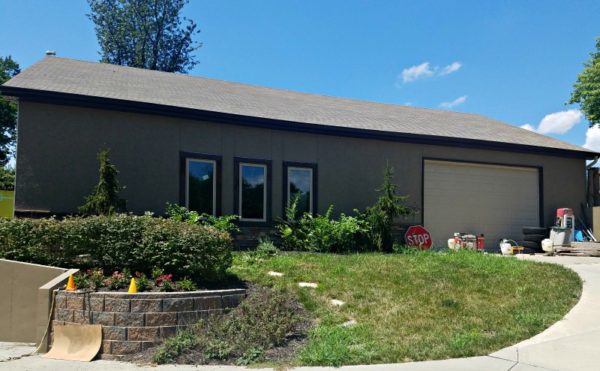
Here is my shop before. As you can see, everything blended together. The roof, the body of the shop and the stone all looked the same.

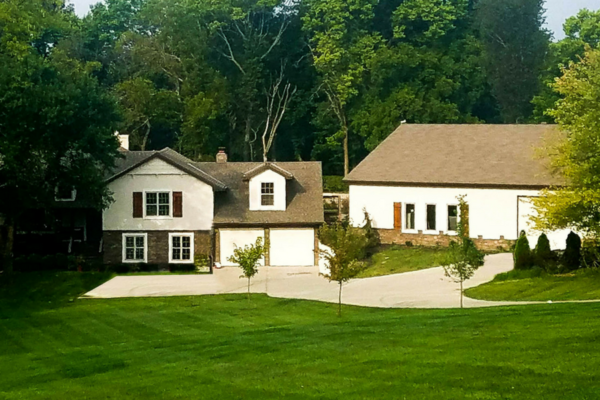
Here is it after. I’m in love with it! I love having a contrast. I added the cedar shutters to the shop as well to add a little character and make it feel like more of a part of the house.
Colors used to upgrade my curb appeal on a budget:
Main Body Color: SW 7568 Neutral Ground
Trim Color: SW 7566 Westhighland White
Shutters: Ready-Seal Stain in Pecan
Front Door: SW 7609 Iron Ore
Porch: Sikkens ProLuxe Solid Stain in Autumn Brown