One of the most dramatic ways to transform the look of your golden oak cabinets is with stain. In this tutorial, How To Gel Stain Cabinets With Ease, I am going to show you how to improve the look of your cabinets without sacrificing the integrity of the wood.
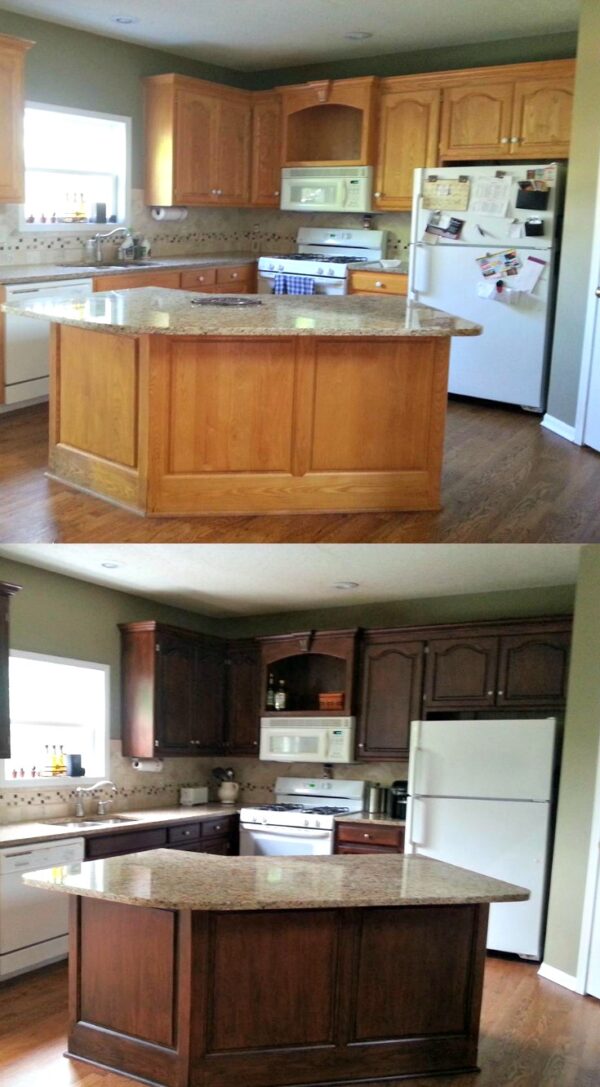 These kitchen cabinets were in need of an update. The homeowners asked me if they should be ripped out and something new put in their place. I said “NO” which is what I say 90% of the time. Why you ask? Because there is nothing wrong with the cabinets. They have solid wood construction, they are made of quality wood and the kitchen has a good layout for the space.
The only thing these cabinets need is a second chance!
I have provided affiliate links for your shopping convenience. If you buy something from clicking one of my links, I will get a commission from the sale. It will not cost you a penny more and allows me to keep sharing my ideas with you for free. You can see my full disclosure here.Thank you for supporting my blog!
Supplies to gel stain cabinets:
- 220-grit sandpaper
- Krud Kutter
- Gel Stain in color of choice
- Paint Thinner
- Staining Pad
- Wiping cloth or Cheesecloth
- Chip Brush
- Top Coat
Instructions to gel stain cabinets:
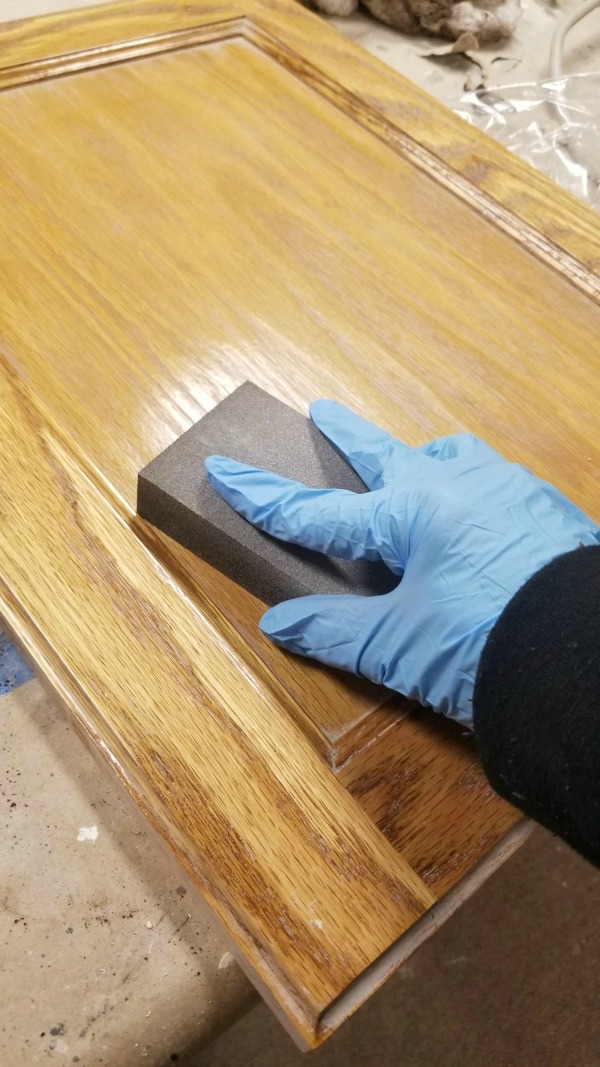
Step 1) Sand cabinet doors, drawers and frame with 220-grit sandpaper.
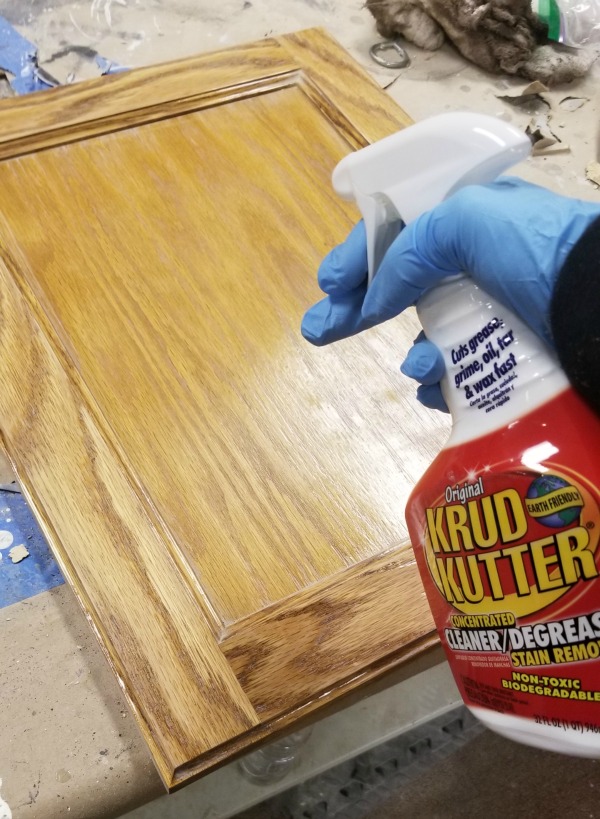
Step 2) Clean well with Krud Kutter. Let dry.
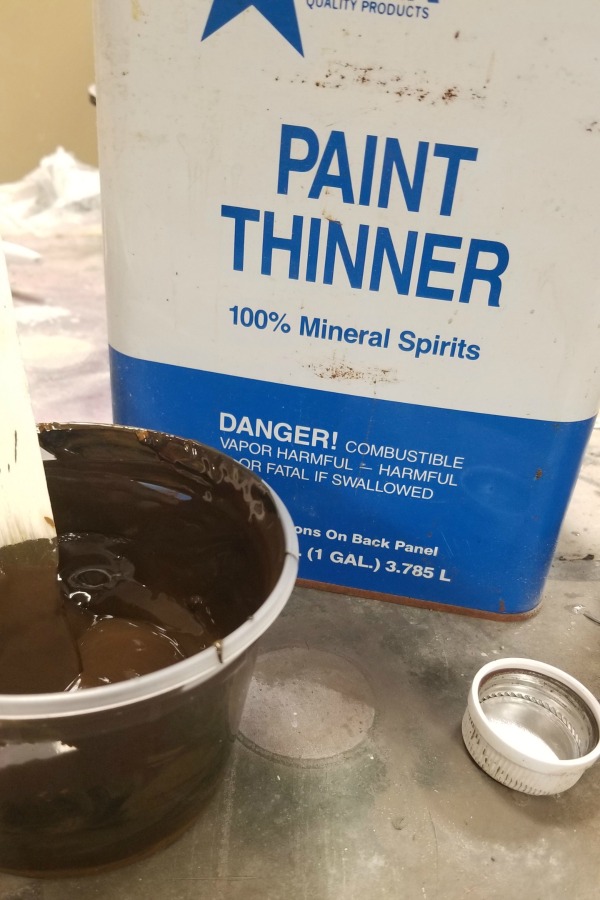
Step 3) Mix Gel Stain and Paint Thinner to make a glaze consistency.
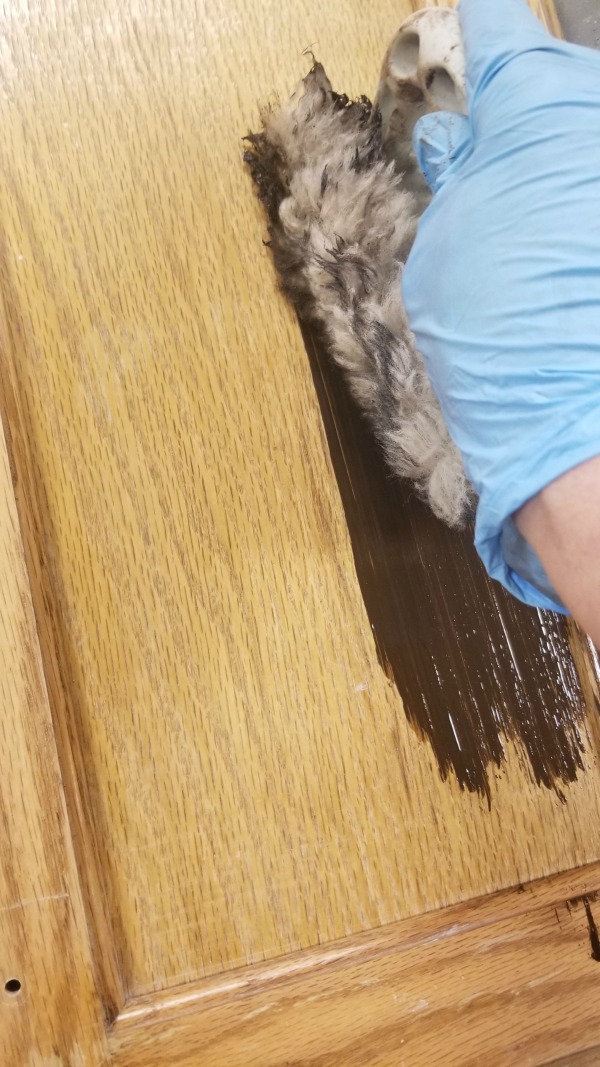
Step 4) Using stain pad, apply Gel Stain.
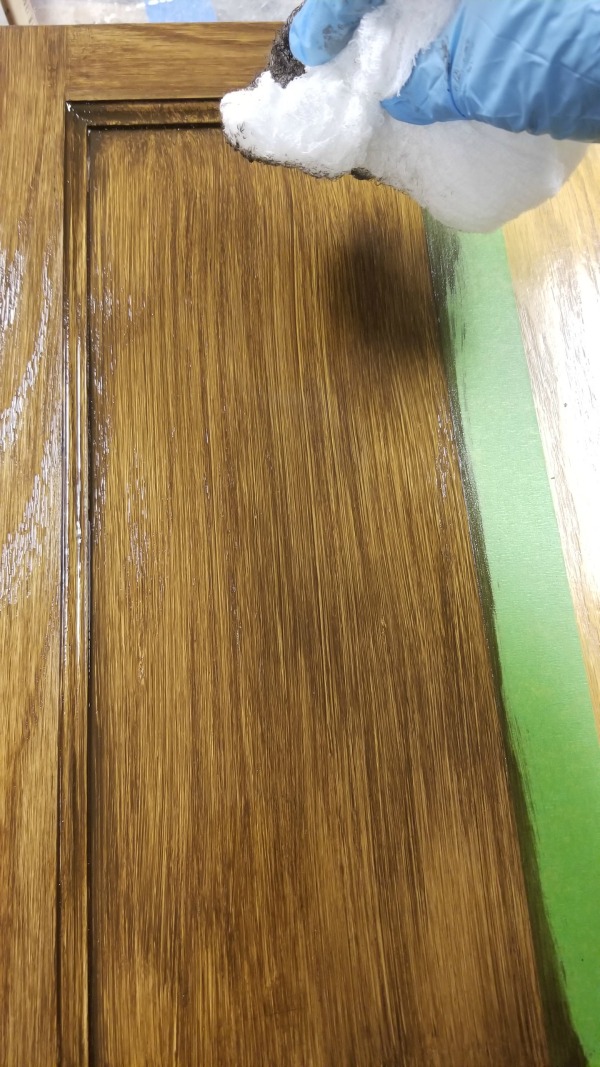
Step 5) Wipe off and smooth with either wiping cloth or cheesecloth.
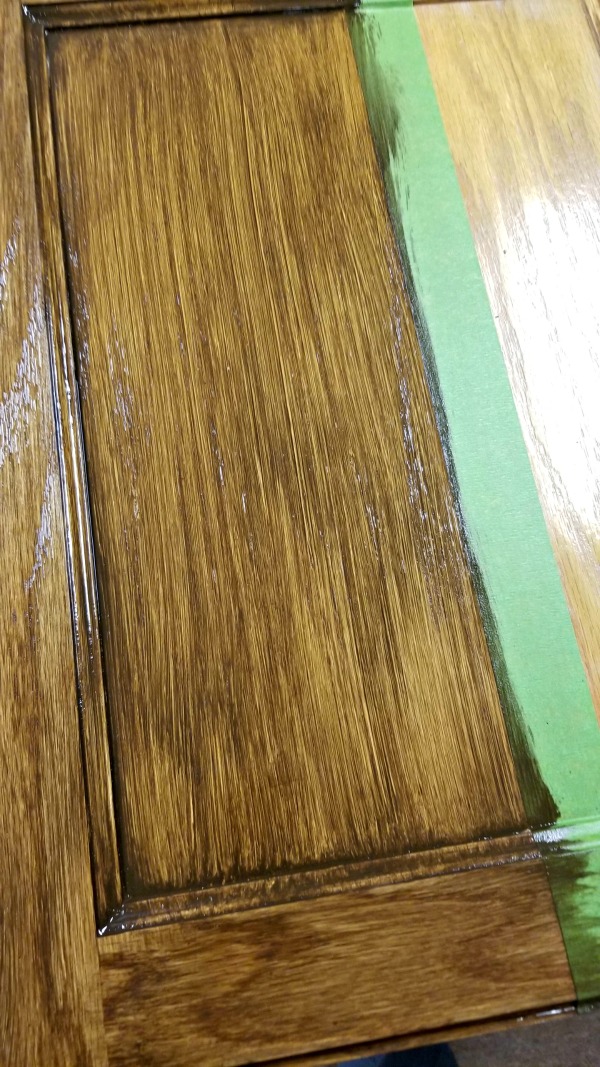
Step 6) Finesse with brush. Let dry 24 hours.
Step 7) Repeat steps 4-6 until you reach the desired darkness or effect.
Step 8) Apply 2 layers of clear topcoat, letting each layer dry in between.
Each and everyone of you inspire me and I LOVE to see the work that you’ve created. Feel free to share with me on Instagram, Twitter or Facebook. And as always, be sure to follow Diva Of DIY on Pinterest and sign up for our FREE Newsletter to receive the latest projects delivered straight to your inbox!