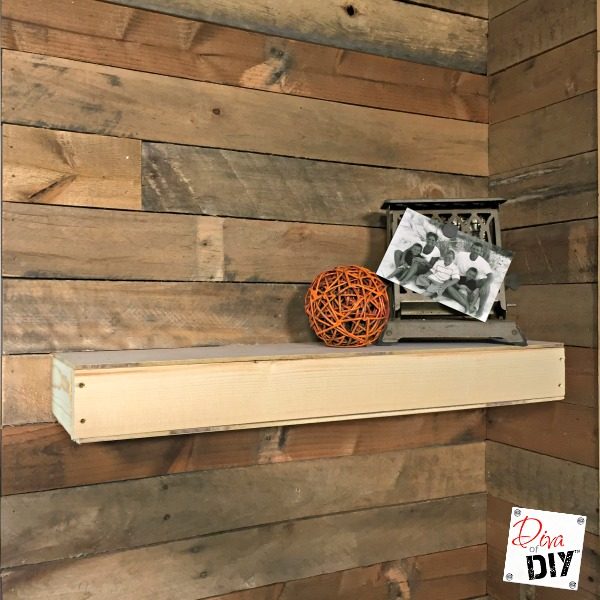
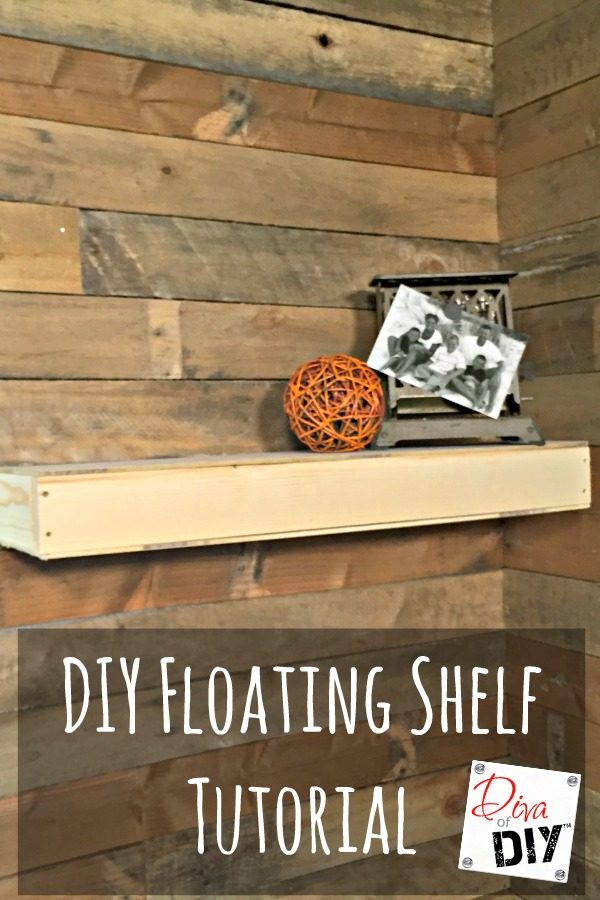
In some spaces, you just need a little “something” to break up a wall. A floating shelf is the perfect solution. It accents the space, gives you a place to display things, and barely takes up any room. A DIY shelf is easier to make than you’d think. Read on.
DIY Shelf Supplies:
I have provided affiliate links for your shopping convenience. If you buy something from clicking one of my links, I will get a commission from the sale. It will not cost you a penny more and allows me to keep sharing my ideas with you for free. You can see my full disclosure here. Thank you for supporting my blog!
-
- 1 sheet of 1/4 plywood, with a smooth side
- 1×3 pine boards
- 1″ brad nails
- 2″ screws
- 3″ screws (for mounting to the wall, you will only need about 10 of these)
- Bondo
- sand paper
- paint
- measuring tape
- drill
- saw (or get the hardware store to cut your boards for you)
- paint brushes/roller
- level
- stud finder
DIY Shelf Instructions:
These measurements are based on a 24″ shelf.
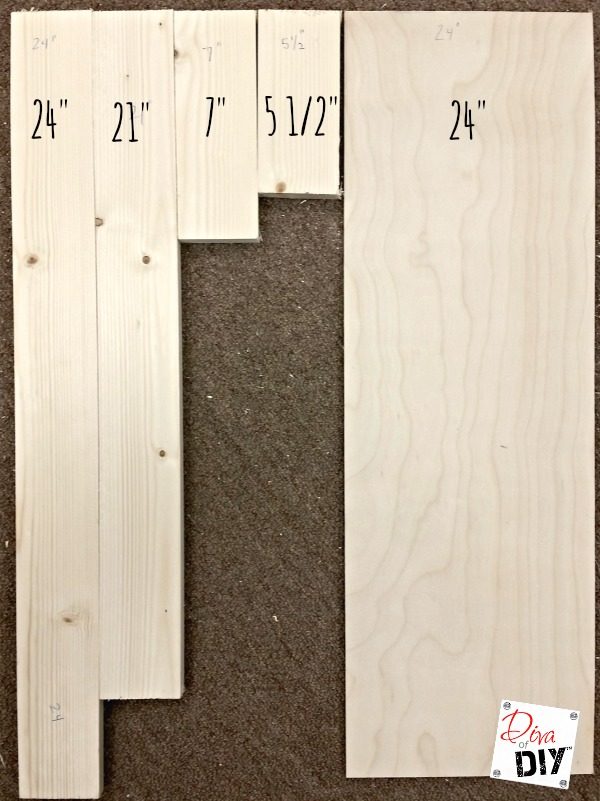
The Cut List:
-
- 1″ x 3″ x 24″ (1)
- 1″ x 3″ x 21″ (2)
- 1″ x 3″ x 7″ (4)
- 1″ x 3″ x 5.5″ (3)
- 7 3/4″ x plywood strip (2)
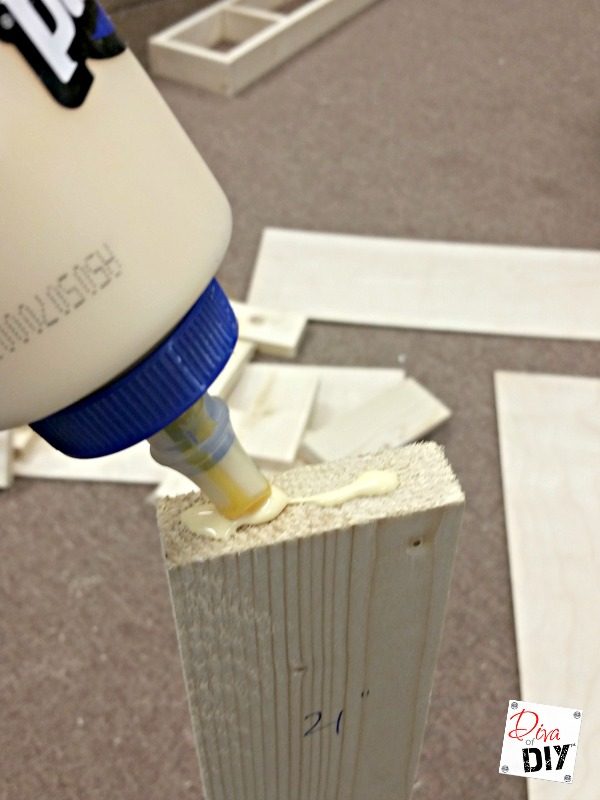
Begin by building the frame. Glue each piece of wood that will adhere to another piece of wood.
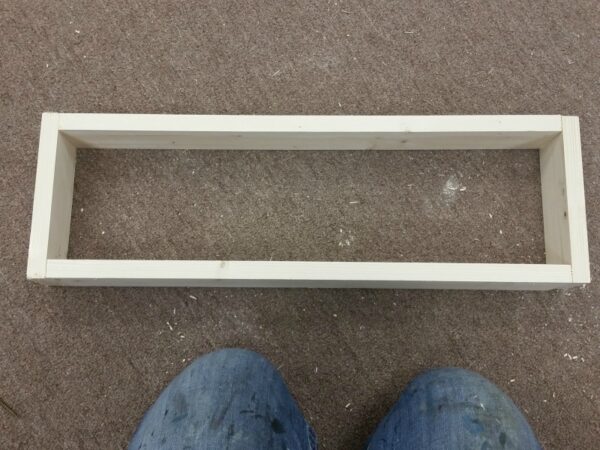
Attach the two 7″ (1 x 3) boards to the ends of the two 21″ (1 x 3) boards to create a rectangle.
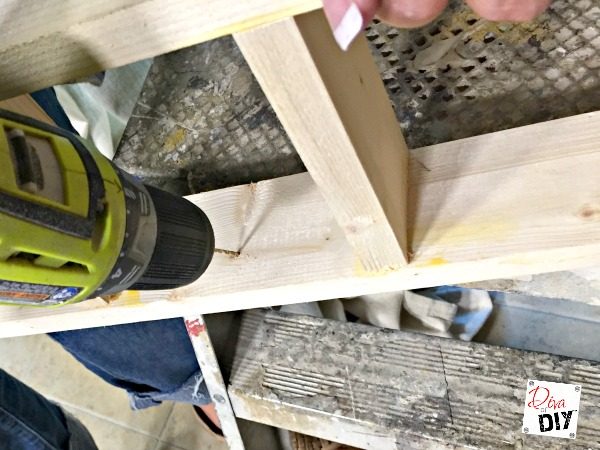
Add the three 5.5″ (1 x 3) boards evenly spaced within the rectangle. Attach at each end with 2″ wood screws.
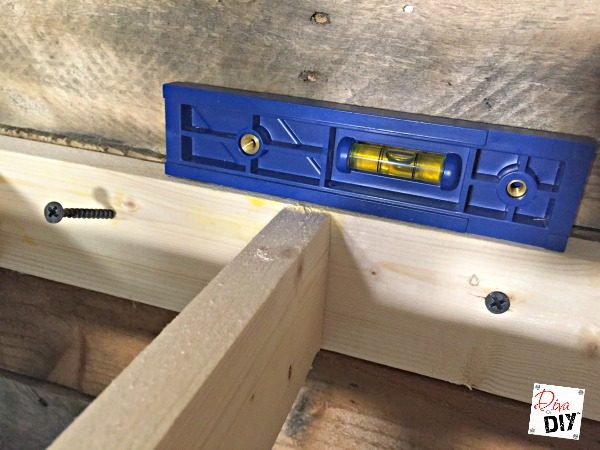
Using a stud finder, find a place to anchor the shelf. Using 3″ screws and a level, anchor to wall.
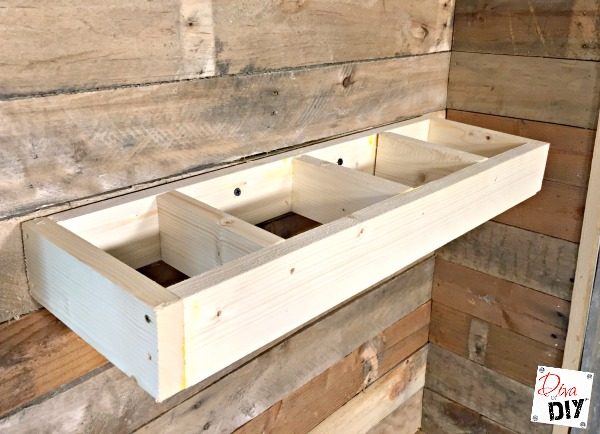
This is what the frame will look like on the wall.
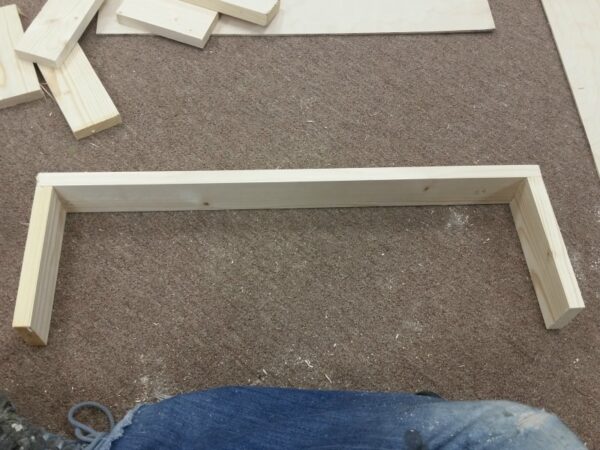
To make the sleeve of the floating shelf, attach the other two 7″ (1 x 3) boards to the 24″ (1 x 3) board.
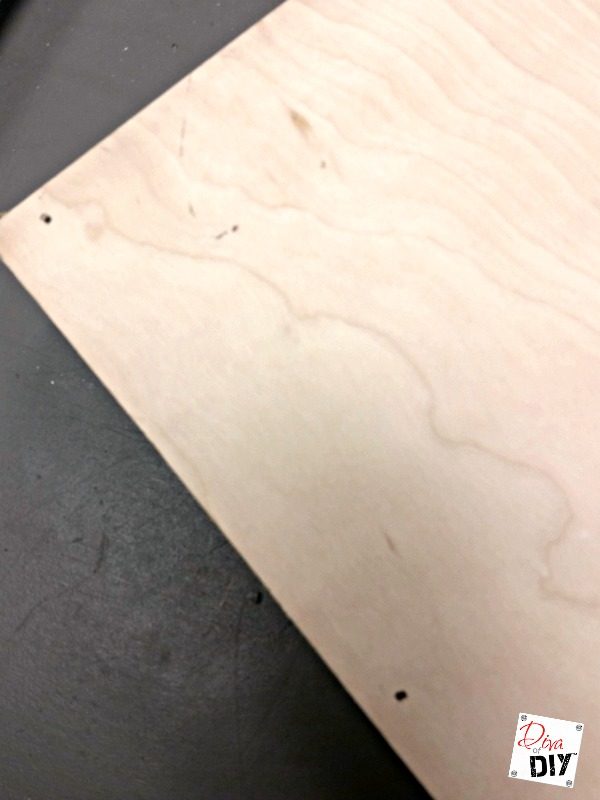
Using glue and brad nails, attach one of the plywood pieces to the top and one to the bottom.
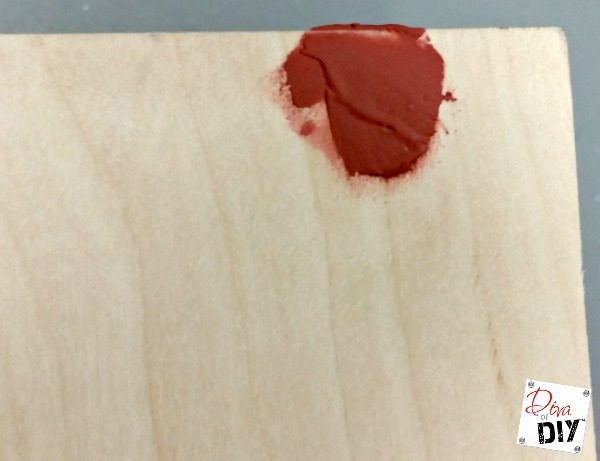
Repair any nail holes with Bondo. Let dry and sand smooth.
Paint or stain as desired. Because of the rustic look in this room, I went with a more natural look. You can get as elaborate or as simple as you’d like with the paint.
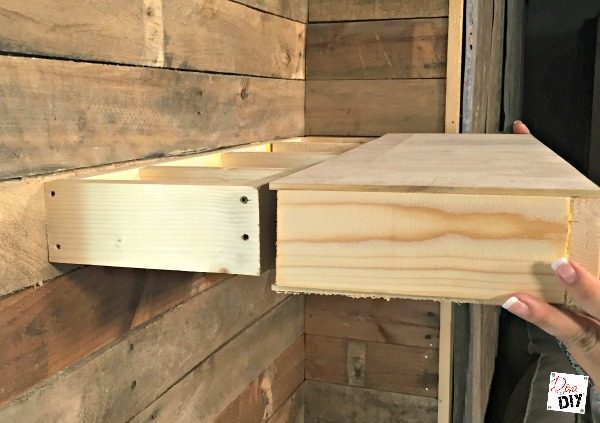
Slide the wood sleeve over the frame. That’s all there is to it! I bet you want to put one in every room of your house, don’t you?
If you need more shelving, you’ll enjoy these tutorials, too!
Each and everyone of you inspire me and I LOVE to see the work that you’ve created. Feel free to share with me on Instagram, Twitter or Facebook. And as always, be sure to follow Diva Of DIY on Pinterest and sign up for our FREE Newsletter to receive the latest projects delivered straight to your inbox!
