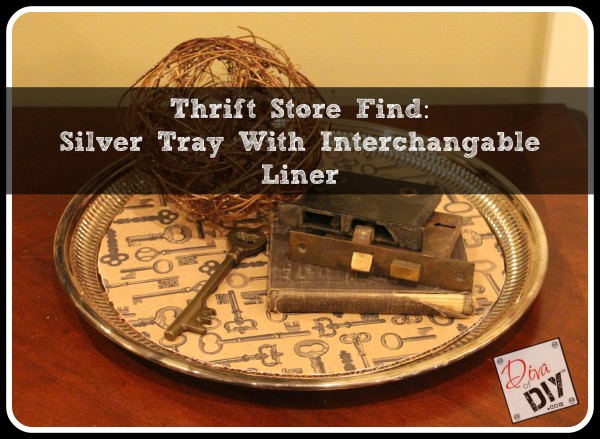
 Add a personalized touch to a silver tray by changing out the liner. You can also do this for the Serving Tray Chalkboard we created as well!
I love to layer when decorating a home. What is layering you ask??? It is starting with a foundation {which is your heaviest piece} and then building on top of that. Silver Trays come in all different shapes and sizes. They are also one of those items that you can never have too many of for a couple of reasons:
- Metals are always in style
- They are stylish and functional
So…if you are ever at a garage sale or thrift store and an attractive silver tray is staring at you it’s saying “Buy Me! Buy Me!”.
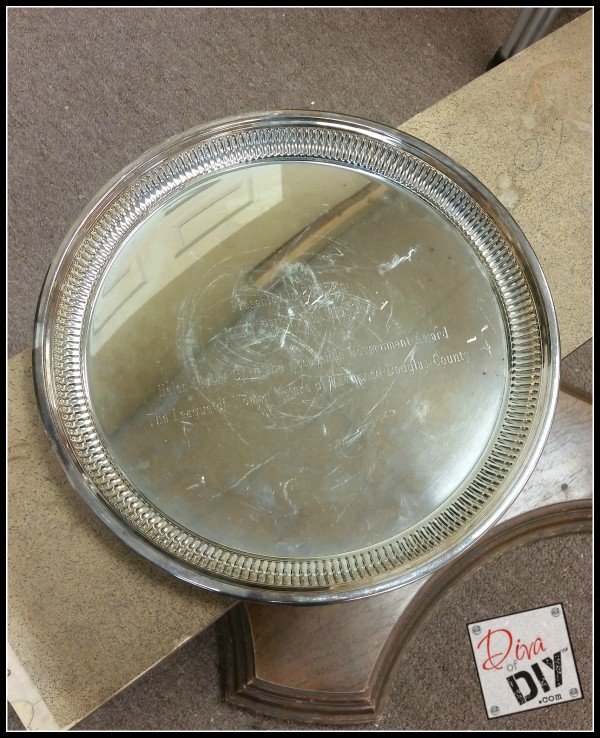
I picked this silver tray up at one of our local thrift stores for $2.00. It is large, heavy and has a nice flat surface in the center for serving or layering. The problem is…it also has someone else’s name and accolades on it! I love that it’s already personalized, but, it wasn’t for me. I don’t even know why someone would want to get rid of this, but, whatever, it’s mine now 😉
Hmmm…I’ve got an idea on how to make this silver tray my own!!!
Let’s get started.
 Supplies
- cardboard
- scrapbook paper or fabric
- scissors
- spray adhesive
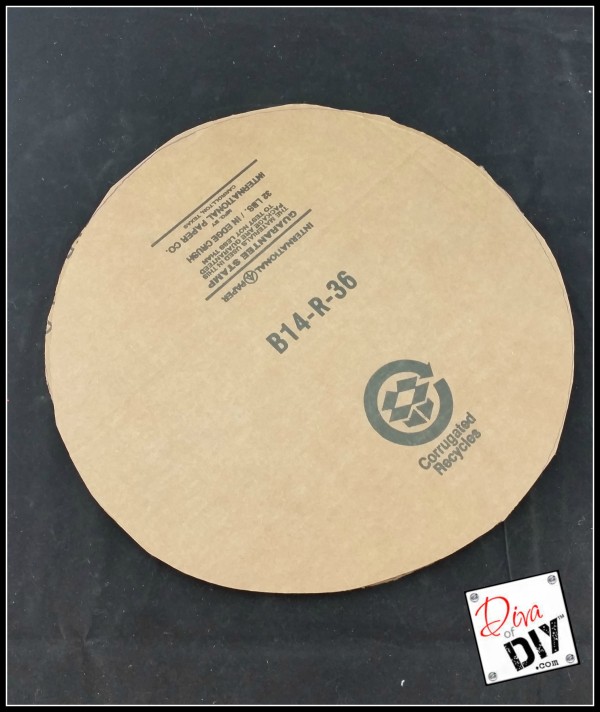
I measured the center surface of the tray and cut several circles out of an old cardboard box. You can use a lid to a pizza box {I won’t judge, I’ve admitted I do it!}, a Amazon or shirt box leftover from Christmas, whatever you have laying around will work!
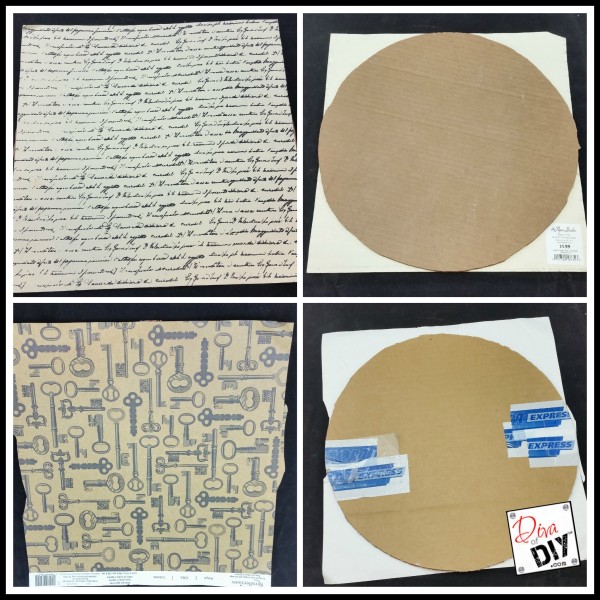
The surface measured 12″ round so I was able to use 12″ x 12″ scrapbook paper to cover my cardboard. If the tray had been too big, I could have just as easily used fabric or my old standby…burlap!
Using permanent spray adhesive, I sprayed the cardboard and the back of the scrapbook paper. Place the scrapbook paper face up on the cardboard circle and let dry.
Lastly, take a pair of scissors or an exact-o knife and trim off the excess scrapbook paper.
DIVA TIP: You could definitely adhere the paper directly to the tray but by putting it on cardboard, you can switch out your theme as needed.
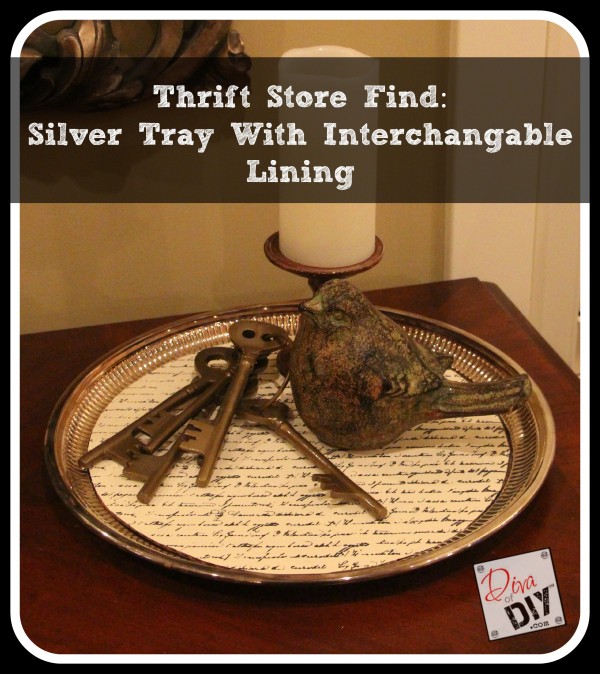
What I love about this project is that you can change out the insert on your tray. You will notice in the first picture I used scrapbook paper with a key design. In this last picture, I used paper that looked like a handwritten note. Changing out the lining completely changed the look of the tray.
You could make a different insert for each holiday. Oh…what about a birthday insert??? The possibilities are endless!
How will you use your silver tray lining in your home?
Ya’ll inspire me and I LOVE to see the work that you’ve created. Feel free to share with me on Instagram, Twitter or Facebook. And as always, be sure to follow Diva Of DIY on Pinterest and sign up for our FREE Newsletter to receive the latest projects delivered straight to your inbox!