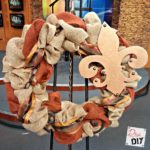
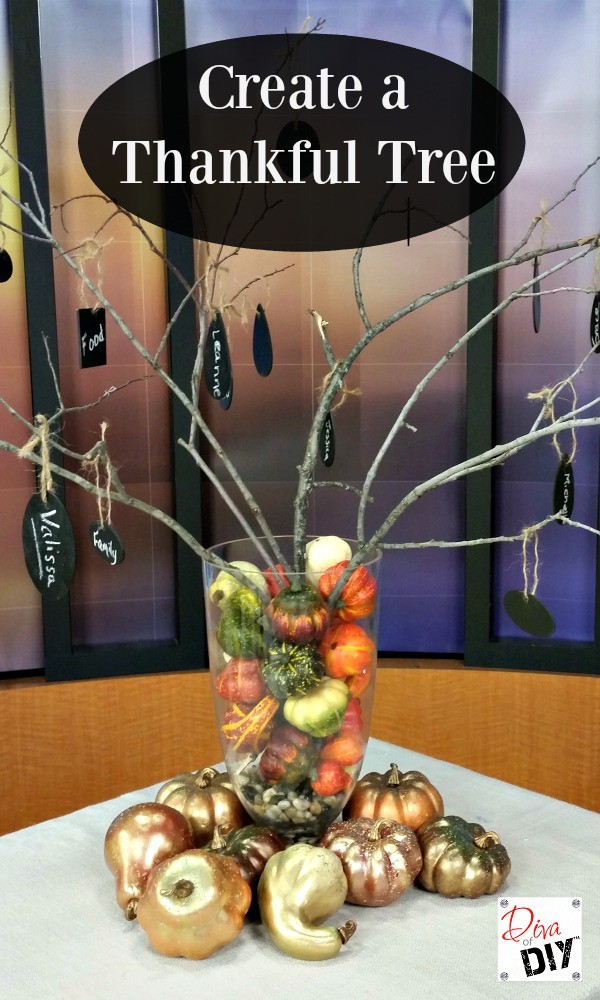
November is the month of Thankfulness so why not start a tradition of making this special Thanksgiving Craft. Make a Thankful Tree for you Thanksgiving holiday table!

This time of year is the perfect time to reflect on all of the things we have to be thankful for. Whether its friends, family, pets, co-workers, a great career, etc…we all have blessing in our life. I admit…I get so busy with life that I forget to “stop and smell the roses” but every year I pull out my thankful tree and write down all of the wonderful things I am thankful for. You should try it…you will feel amazing.
This post contains affiliate links. If you buy something from clicking one of my links, I will get a commission from the sale. It will not cost you a penny more and allows me to keep sharing my ideas with you for free. You can see my full disclosure here. Thank you for supporting my blog!
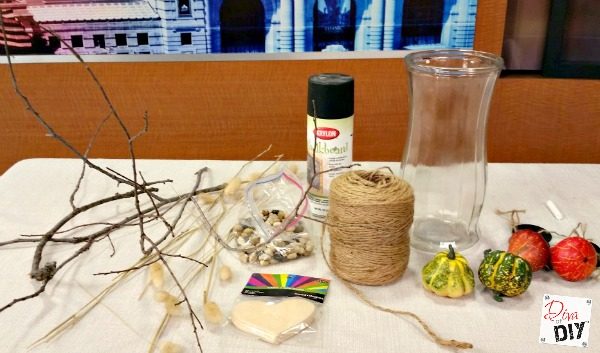
Thanksgiving Craft Thankful Tree Supplies:
- Branches or twigs from the yard
- Rocks
, Mulch, Dirt, etc… to hold twigs in place
- Vase
(I like the clear one because you can see through it)
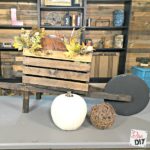
- Filler such as pumpkins, gourds, pinecones, etc…
- Wood shapes
to write on
- Chalkboard spray paint
(This is the exact spray I used and it worked great)
- Chalk
- Twine
- Small drill
and drill bit
if needed to drill holes in wood shapes


Thanksgiving Craft Thankful Tree Instructions:
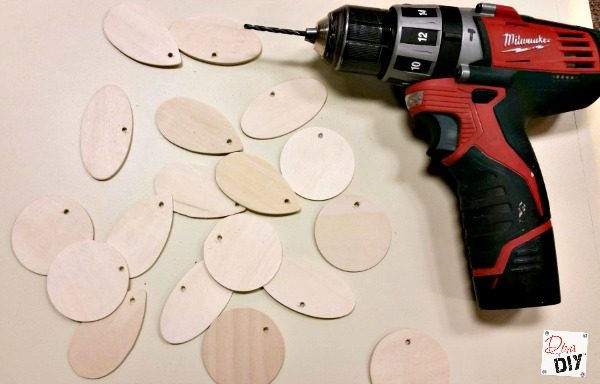
Step 1) Begin by drilling the holes in your wood shapes (if necessary)
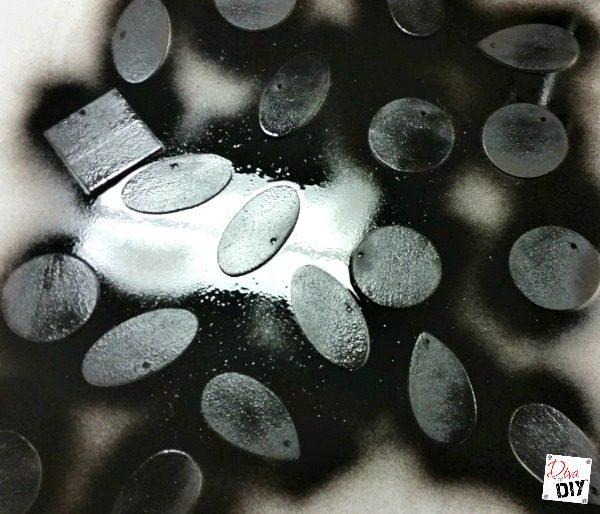
Step 2) Spray the wood shapes with Chalkboard spray paint
Diva Tip: If you have Diva of DIY Chalk Mix you can create chalkboard paint by mixing it into acrylic paint. Once you have the Chalk Mix, you always have the ability to create chalk paint or chalkboard paint at you fingertips!
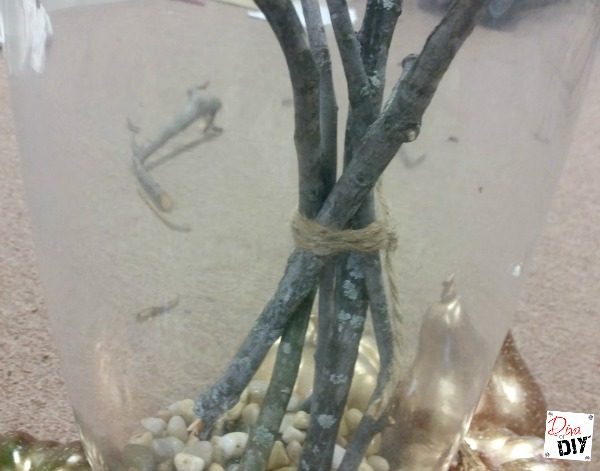
Step 3) Secure your branches with twine
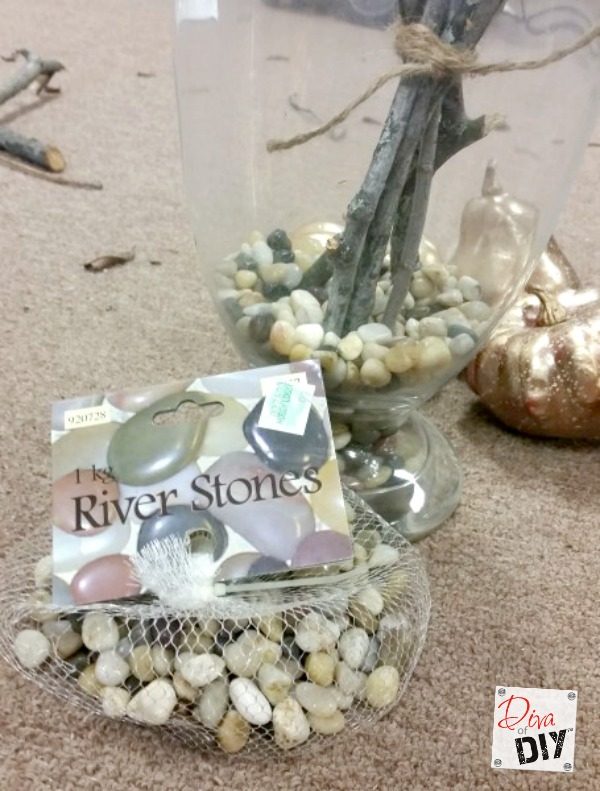
Step 4) Place them in the vase with your rocks
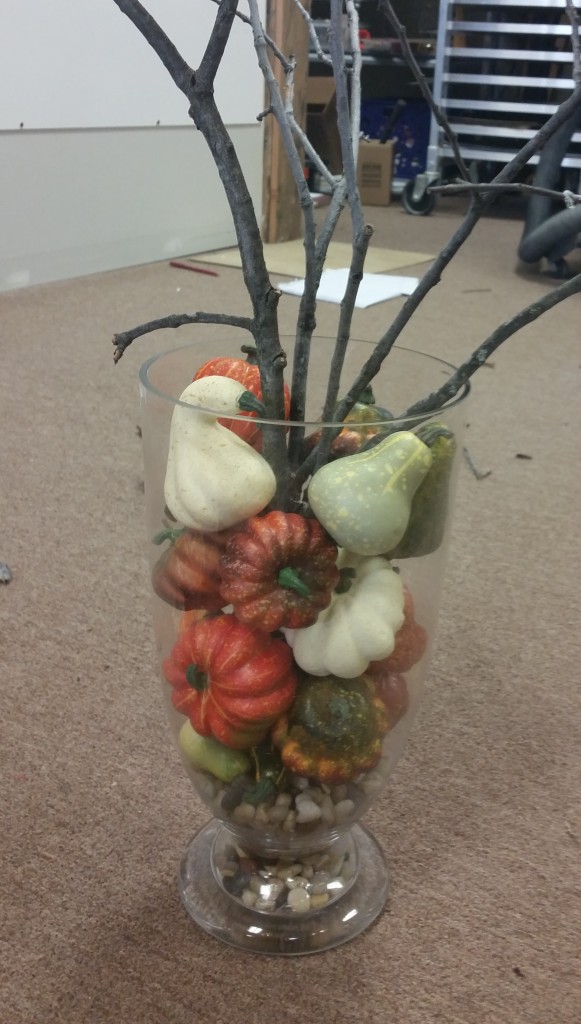
Step 5) Fill with pumpkins, gourds or filler of your choice
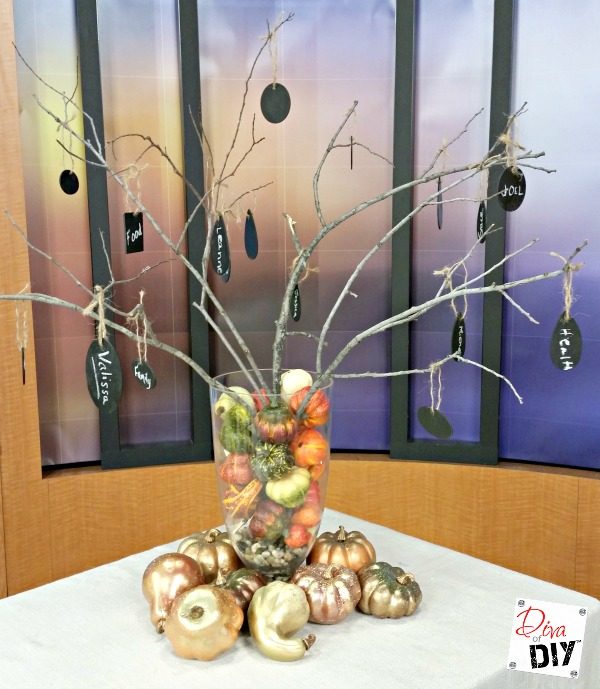
And there you have it…a thoughtful Thanksgiving craft that the entire family can help create.
Update: I now put our Thankful Tree and wood shapes out on November 1st. Each day everyone in my family writes down what they are thankful for that day. It is a great way to keep my teenage boys engaged in understanding how blessed our family is. It also gives us family time, even if only for a few minutes, to reflect on our blessings. I love this time of our November days!
Each and everyone of you inspire me and I LOVE to see the work that you’ve created. Feel free to share with me on Instagram, Twitter or Facebook. And as always, be sure to follow Diva Of DIY on Pinterest and sign up for our FREE Newsletter to receive the latest projects delivered straight to your inbox!
If you enjoyed this project, check out these: