Painting walls like a pro is not for the faint of heart. There are hours of prep work that needs to be completed prior to picking up a paint brush and roller. My 18+ years of experience as a professional painter has taught me so many lessons but the one I can’t stress enough is this: the amount time and energy you spend in the prep phase will directly affect the outcome of your painting project.
I have provided affiliate links for your shopping convenience. If you buy something from clicking one of my links, I will get a commission from the sale. It will not cost you a penny more and allows me to keep sharing my ideas with you for free. You can see my full disclosure here. Thank you for supporting my blog!
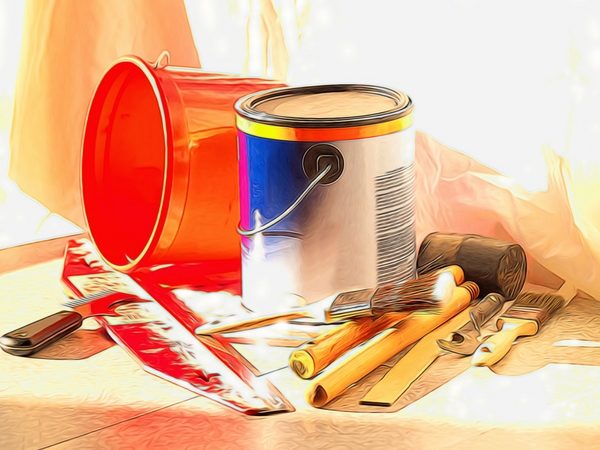
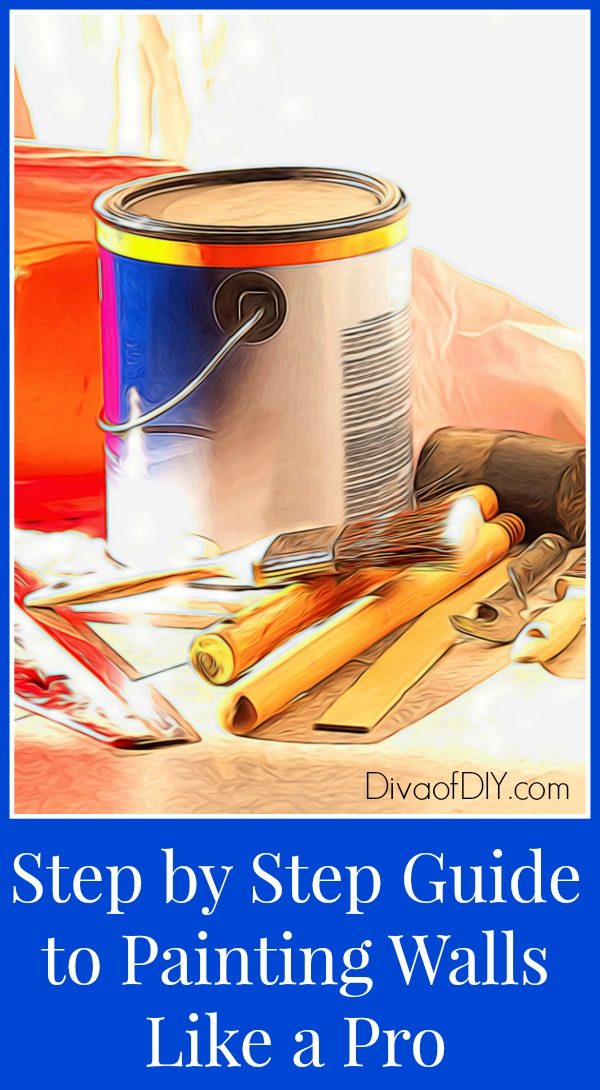
Supplies For Painting Walls: The Prep Phase
- Spackle
- Putty Knife
- Extension Pole
- Sanding screens
- Wall sander
- Painters tape
- Masking Gun
(This is a game-changer!)
- Masking Paper
- Drop Cloths
(make sure it’s waterproof)


Steps For Painting Walls: The Prep
- Remove all of the accessories and small pieces of furniture out of the room. Move all of the large furniture into the center of the room so it is out of your way.
- Lay waterproof drop cloths to cover the floor
- Tape off baseboards, crown molding, window and door molding and the ceiling using 1.5” painters tape
- Burnish tape using a plastic putty knife
, a paint stirrer or credit card. This will help prevent the paint from seeping under the tape and onto the trim.
- Using a masking machine
, cover the baseboards and any window ledges with 9″ masking paper
to prevent paint splatters
- Remove all light switch plates and outlet covers. Place them in a Ziploc bag and label it with a piece of painter’s tape.
- Remove any picture hangers, screws or curtain hardware that you don’t plan on reusing.
- Patch the small holes and divots with spackling. Let dry. Lightly sand.
- Patch larger holes or cracks with a drywall patch kit and sheetrock mud. Let dry. Lightly sand.
- Using sanding screens
and a paint pole, lightly sand the walls prior to painting. This will knock off any drips, paint boogers or fuzz that may have been left behind by the previous painters.
- Wipe down the walls to remove any grease, grime and dust. I start with a shop-vac to remove the majority of the dust, then move to a Swiffer and then to a damp rag. Use TSP
if trying to remove grease. Let dry completely.
- Spot-prime
all areas that were patched and sanded. Let dry.
Now you are ready to start painting.
![]()
Each and every one of you inspire me and I LOVE to see the work that you’ve created. Feel free to share with me on Instagram, Twitter or Facebook. And as always, be sure to follow Diva Of DIY on Pinterest and sign up for our FREE Newsletter to receive the latest projects delivered straight to your inbox!