I always look forward to this time of year. I love the food, the family time and getting out all of my holiday decorations.
This year is even more special because I purchased a new building for my business and I will be hosting my first ever holiday open house there. By now I would normally have all of my Thanksgiving decorations out but I am a little behind because I had to paint all of the walls first. Today was the day and I am so excited to show you what I got done. But before I do…Let me show you something really cool.
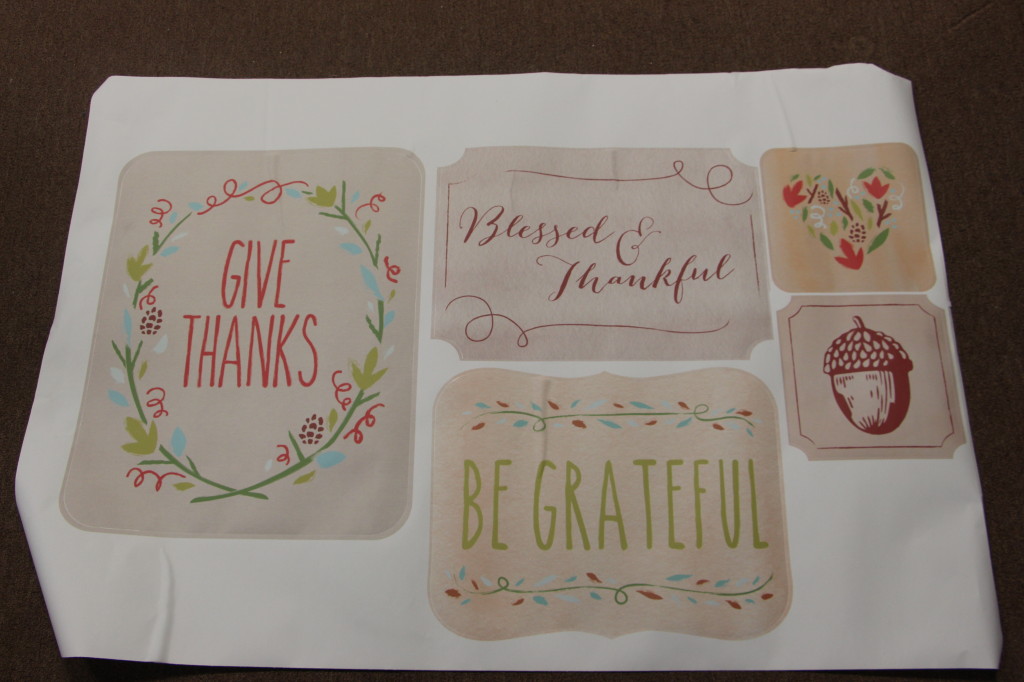
A couple of weeks ago I received this amazing set of Colorful fall-inspired wall decals from Wallternatives. The WallPrints™ Fabric Decals from Wallternatives are removable and reusable. You can peel and stick them to any clean, smooth surface and reposition them as needed. When I opened the package, I was so excited because I knew exactly where I wanted them to go.
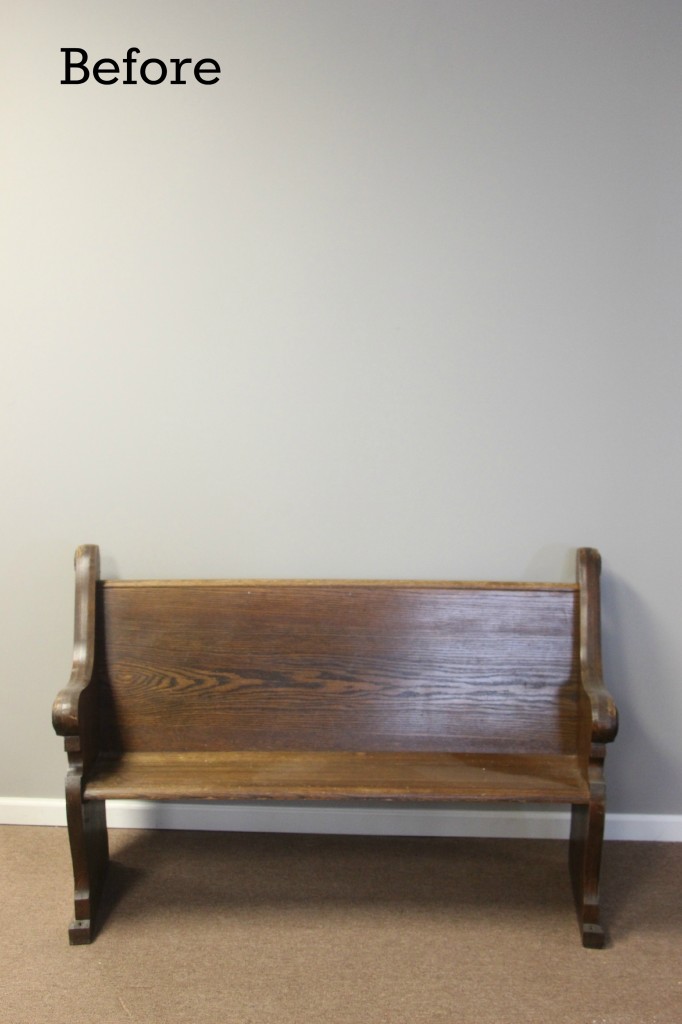
Here it is…The wall of shame. This is where I decided to start. This is a very visible area in my showroom. Needless to say…it needs some major attention. No worries…an instant transformation is about to take place!
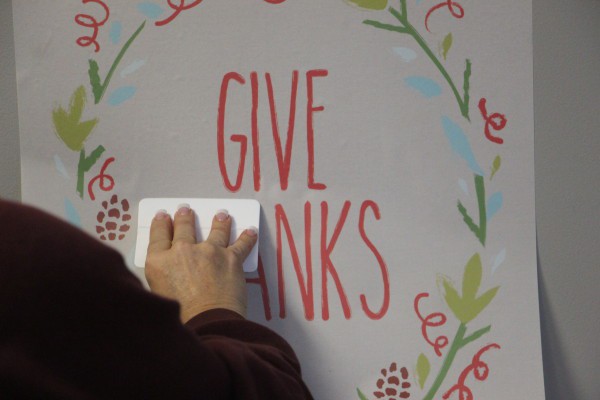
These are seriously the easiest thing to do. Simply peel the decal off of the backing and place it where you want. You can’t mess it up. They even give you a cool little squeegie tool to get all of the bubbles out.
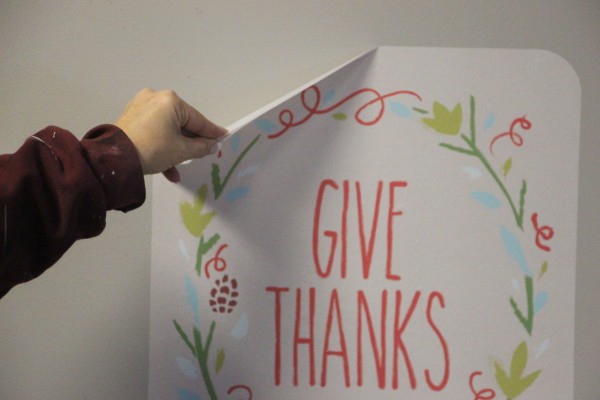
If you change your mind and want to move it, simply pull it back off. Yep…it’s that easy.

These decals look great applied directly to the walls but if you know my decorating style, you know that I am a layering machine. LOL
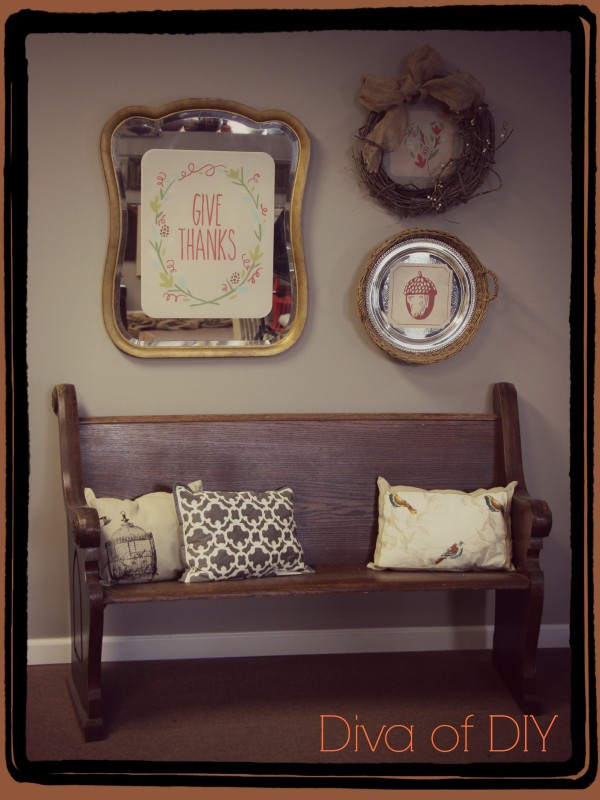
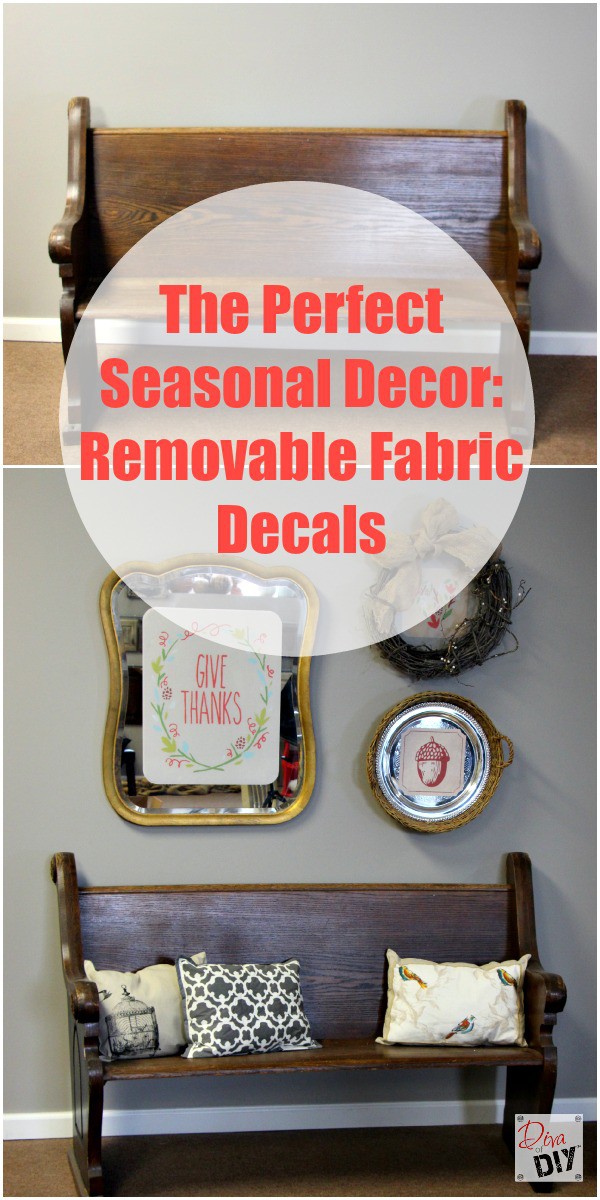
I applied the acorn decal on a silver tray and then nestled the tray in a wicker basket and hung it on the wall.

I adhered the small heart decal onto the wall and then layered it with a grapevine wreath, some Christmas berries that I spray-painted cream, and a burlap bow.
Last but not least, I adhered the “Give Thanks” decal on a large mirror that balanced out the 2 other pieces. I added some of our throw pillows from our Placemat Pillows tutorial and it’s finished! This entire wall took me a little less than an hour to complete. I love the way it turned out.
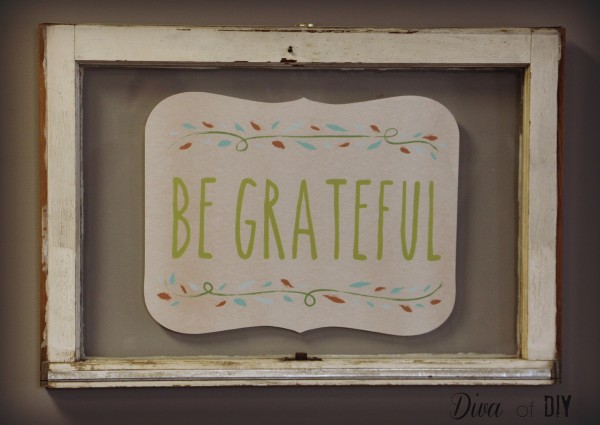
I was having so much fun with these decals that I decided to keep playing. I adhered the “Be Grateful” decal to a vintage window…LOVE ♥♥

Here is the same area with the vintage window instead of the mirror. Which one do you like better?
 If you like this post please check out my other Fall/Thanksgiving posts.
Disclosure: I was provided a set of Removable Fabric Decals to use and give my honest opinion about them on my site.
Each and everyone of you inspire me and I LOVE to see the work that you’ve created. Feel free to share with me on Instagram, Twitter or Facebook. And as always, be sure to follow Diva Of DIY on Pinterest and sign up for our FREE Newsletter to receive the latest projects delivered straight to your inbox!