Almost every kitchen renovation involves 4 areas of concern: the kitchen cabinets, the countertops, the backsplash and the floors. Of course there are easy kitchen upgrades you can do in a weekend for a quick update, but to completely transform the look and feel of the room you will want to take your transformation a step further.
Painting your kitchen cabinets is one of the biggest, least expensive impacts you can make to change the look of your kitchen.
Kitchen Cabinets
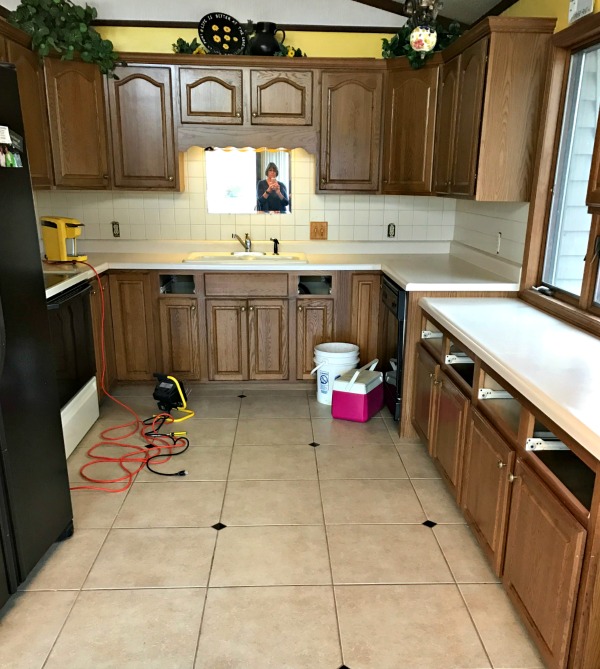
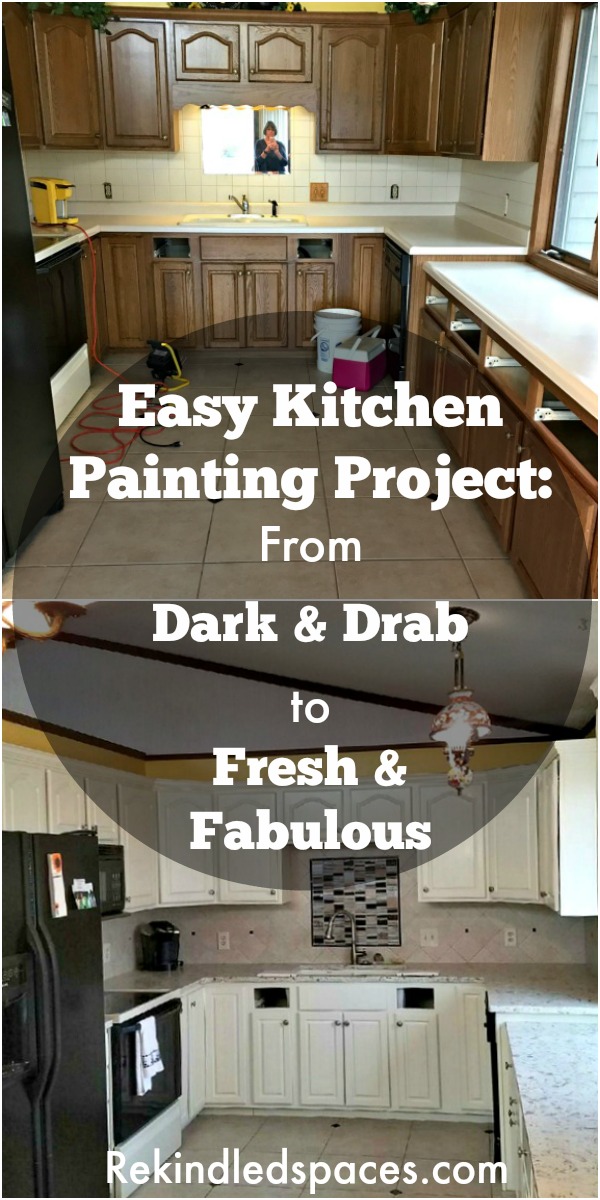
Here is a before picture of the latest kitchen renovation done by Rekindled Spaces, my paint-contracting company. Things that immediately stood out at my first meeting were the following: 1) The outdated laminate countertops; 2) The different countertop levels next to the window sill; 3) The dark kitchen cabinets which made the room seem small and dreary; 4) The outdated 4″ x 4″ square ceramic backsplash; 5) The outdated mirror behind the sink; 6) The scalloped wood molding over the sink; 7) The outdated light fixtures and 8) The outdated cabinet hardware.
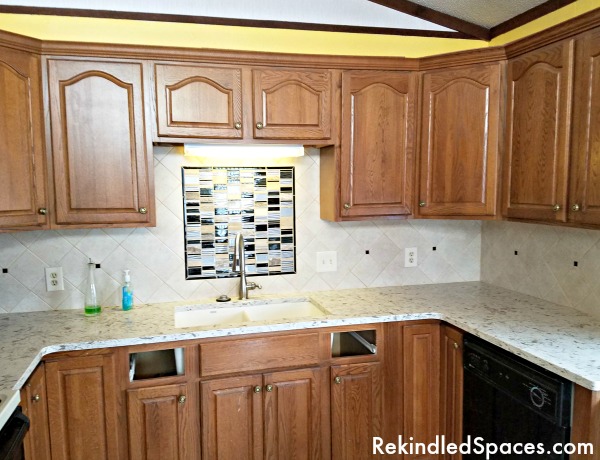
I always suggest choosing your countertop material, you backsplash and your flooring (if applicable) before choosing your the paint color for your kitchen cabinets. Click here for help choosing your countertops. The homeowner chose a granite countertop called “Romano White” and a 6″ x 6″ stone backsplash with small square glass inserts and a glass feature panel behind the sink.
They chose to leave the existing floor. It was a neutral-colored ceramic tile that in in good shape so I didn’t disagree.
See the 2 holes next to the sink? Those were drawers that no longer fit because of there amazing new integrated sink. Super easy fix…we removed the 2 drawer panels off of the drawer box and painted them to match the cabinets. They will simply be glued on to create “faux” drawers.
My job was to choose a cabinet color to pull it all together. We chose SW6119 Antique White.
We started by prepping the cabinets. Click here to see how we prepare cabinets for primer and paint.
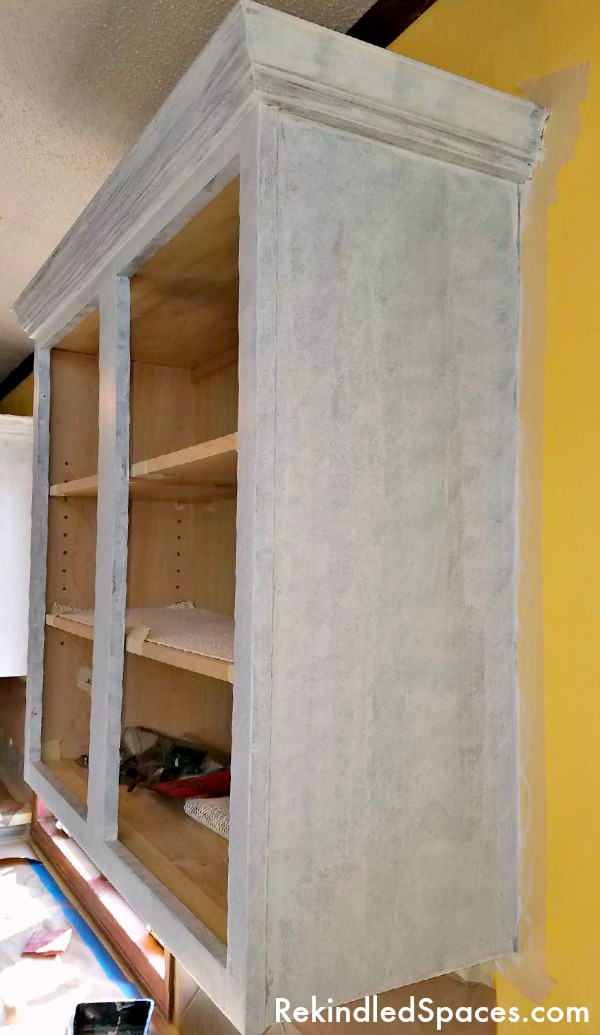
We primed the cabinets and let them dry overnight. Click here to see a full list of supplies used on this job.
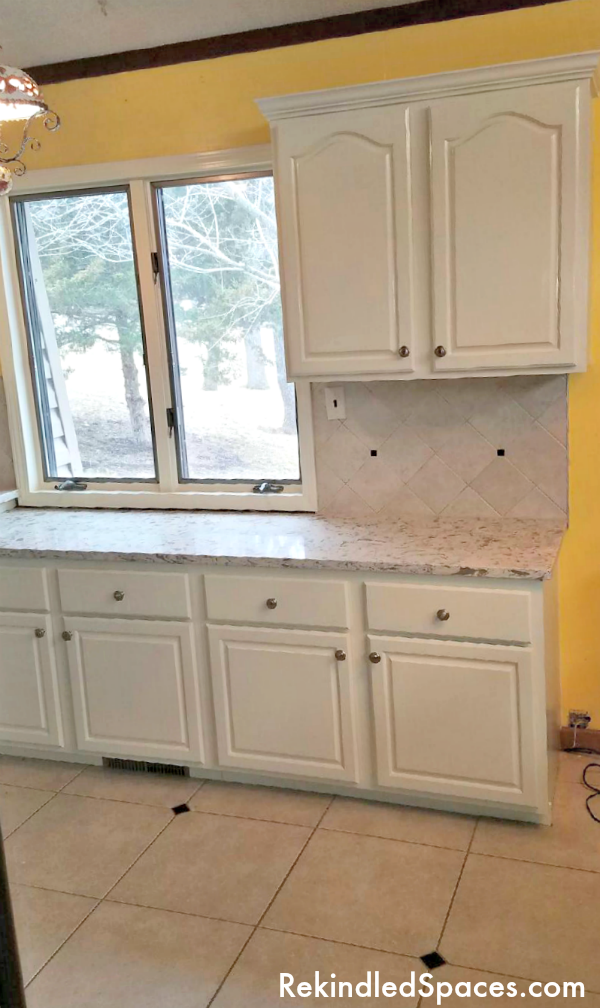
We also prepped, primed and painted the window trim to match the cabinets. This makes the window seem like an extension of the cabinets instead of an interruption.
The 2 countertop levels couldn’t be easily changed because of the window so it was left as is.
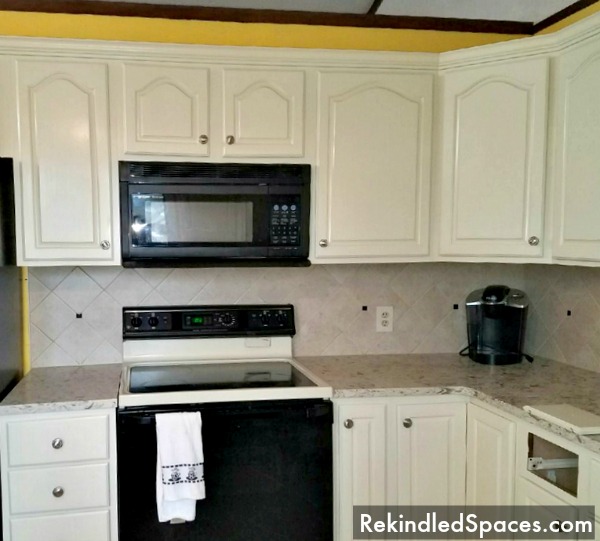
I love how the black appliances really pull in the glass backsplash panel, the small square inserts and the inserts on floor. I also love how they pop against the off-white kitchen cabinets.
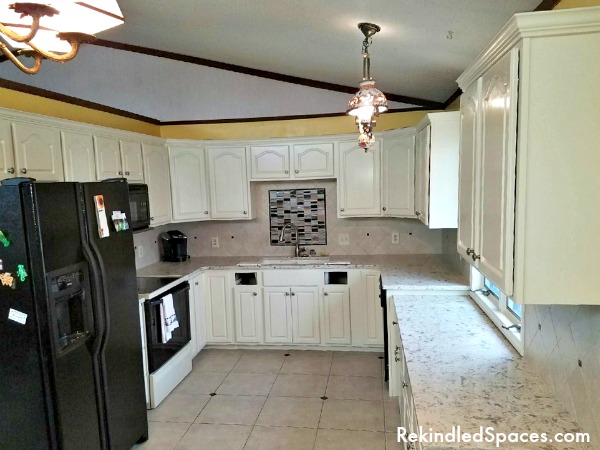
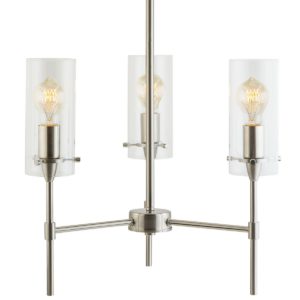
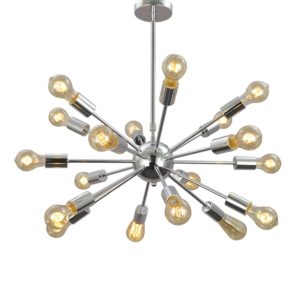
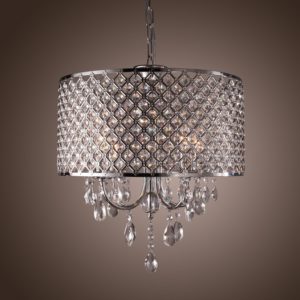
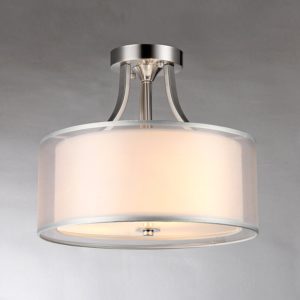
Here is the after picture of the new kitchen renovation. Isn’t it beautiful? These are the light fixtures I chose to finish off the space…let me know which one is your favorite!


[go_portfolio id=”cabinet_finishing”]

Paint used: We used Sherwin Williams ProClassic® Interior Waterbased Acrylic-Alkyd Enamel
Color: Sherwin Williams 6119 Antique White in satin sheen
Hardware: Brushed Nickel
Faucet: Brushed Nickel
Countertop: Quartz “Romano White”
Each and every one of you inspire me and I LOVE to see the work that you’ve created. Feel free to share with me on Instagram, Twitter or Facebook. And as always, be sure to follow Diva Of DIY on Pinterest and sign up for our FREE Newsletter to receive the latest projects delivered straight to your inbox!